Table of Contents
Introduction
Microsoft Word is one of the most widely used word processing programs on the market for a variety of platforms. Microsoft’s software includes a variety of capabilities that allow you to type and modify your papers. Word makes it simple to satisfy professional standards in every document, whether it’s a blog post or a research paper. In MS Word, you may even type an entire ebook! Word is a versatile word processor that can include images, graphics, charts, 3D models, and other interactive elements. The section break is a formatting function that allows you to divide your Word document into many pieces.
You can quickly format a specific area of your document without impacting the rest of the content when you divide your document into sections. This article will guide you through a procedure to delete a section break in Microsoft Word.
Types of Section Breaks in Microsoft Word
Next page: it would begin a section break on the next page as in the following page.
Section break: this option would start a new section on the next page as the previous one. The number of columns changes as a result of this sort of section split (without the addition of a new page in your document).
Even-numbered page: This form of section break is used to begin a new even-numbered section on the following page.
Odd page: This type is the polar opposite of the previous one. This would start a new odd-numbered section on the next page.
Steps To Delete A Section Break In Microsoft Word
Following are the methods to delete a section in Microsoft word:
Method 1: Remove Section Breaks Manually
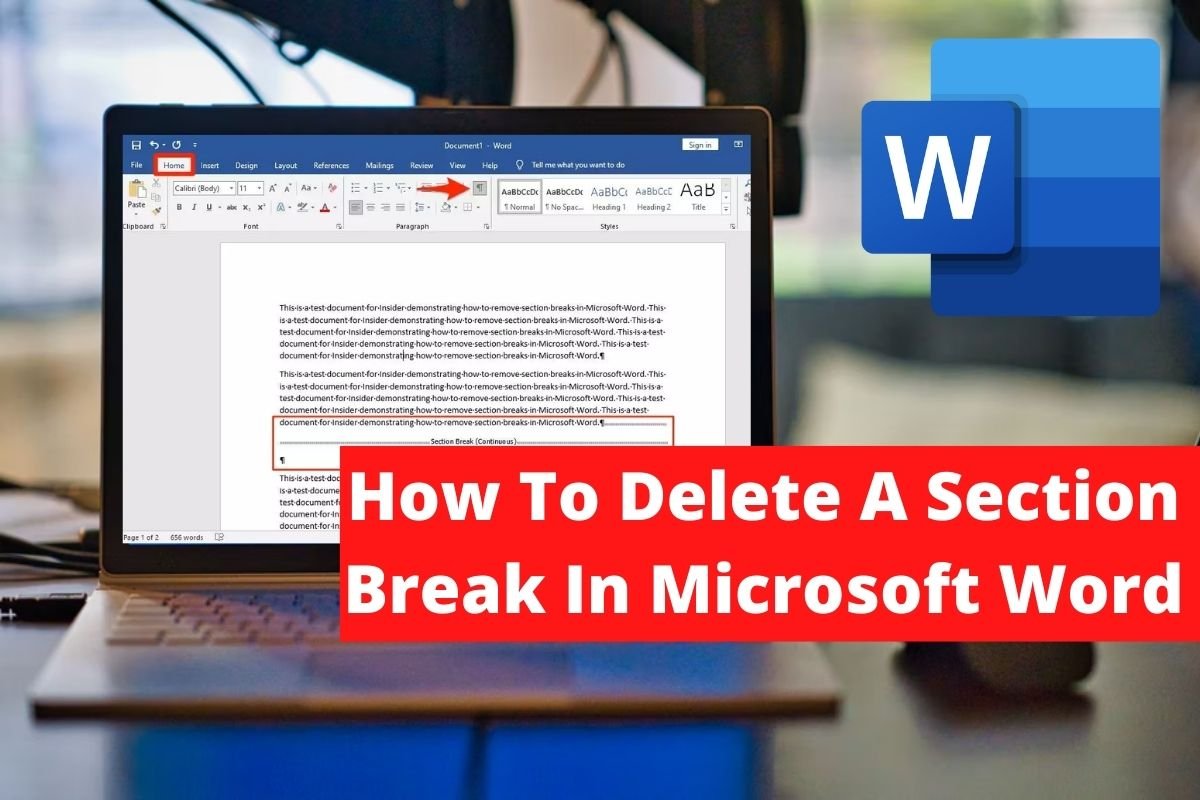
Step 1: Open your Word document, then enable the (Show/Hide) option from the Home tab to see all of your document’s section breaks.

Step 2: Select the section break you want to get rid of. It’s as simple as moving your pointer from the left edge to the right end of the section split. To delete or backspace, press the Delete or Backspace keys. The desired section break will be removed by Microsoft Word.

Step 3: You can also place your mouse cursor before the section break and then press the Delete key.
Method 2: Remove Section Breaks using the Find & Replace option
Step 1: Select the Replace option from Microsoft Word’s Home tab. Alternatively, use the Ctrl + H keyboard shortcut. Select “More” in the Find and Replace pop-up box.

Step 2: Then select the Special option. Now, from the pop-up menu, select Section break. Allow Word to fill the Find what text field with “b” (you can alternatively enter it directly in the Find what text box). Leave the “Replace with the text” box blank. In the confirmation window, select the Replace all option. You could eliminate all of the section breaks in your document at once this way.

Method 3: Remove Section Breaks Running a Macro
Step 1: To begin, press Alt + F11 on your keyboard. The Visual Basic Window will pop up. Right-click on Normal in the Left Pane. Select Module from the Insert menu.
Step 2: The code space would appear on your screen, and a new module would open. Now type or paste the following code:
Sub DeleteAllSectionsInOneDoc()
With Selection
.HomeKey Unit:=wdStory
With Selection.Find
.ClearFormatting
.Replacement.ClearFormatting
.Text = “^b”
.Replacement.Text = “”
.Forward = True
.Wrap = wdFindContinue
.Format = False
.MatchCase = False
.MatchWholeWord = False
.MatchWildcards = False
.MatchSoundsLike = False
.MatchAllWordForms = False
End With
Selection.Find.Execute Replace:=wdReplaceAll
End With
End Sub
Step 3: Press F5 or click on the Run option.
Method 4: Remove Section Breaks of Multiple Documents
Step 1: Create a folder and put all of your documents in there. To run a macro, use the previous technique. In the module, paste the code below.
Sub DeleteAllSectionBreaksInMultiDoc()
Dim StrFolder As String
Dim strFile As String
Dim objDoc As Document
Dim dlgFile As FileDialog
Set dlgFile = Application.FileDialog(msoFileDialogFolderPicker)
With dlgFile
If .Show = -1 Then
StrFolder = .SelectedItems(1) & “\”
Else
MsgBox “No folder is selected! Please select the target folder.”
Exit Sub
End If
End With
strFile = Dir(StrFolder & “*.docx”, vbNormal)
While strFile <> “”
Set objDoc = Documents.Open(FileName:=StrFolder & strFile)
With Selection
.HomeKey Unit:=wdStory
With Selection.Find
.ClearFormatting
.Replacement.ClearFormatting
.Text = “^b”
.Replacement.Text = “”
.Forward = True
.Wrap = wdFindContinue
.Format = False
.MatchCase = False
.MatchWholeWord = False
.MatchWildcards = False
.MatchSoundsLike = False
.MatchAllWordForms = False
End With
Selection.Find.Execute Replace:=wdReplaceAll
End With
objDoc.Save
objDoc.Close
strFile = Dir()
Wend
End Sub
Step 2: Run the macro listed above. A dialogue box will appear; navigate to the folder you created and select it. That concludes our discussion. In a matter of seconds, all of your section breaks would vanish.
Conclusion
In this article, we have outlined all the steps in order to help you delete a section break in Microsoft Word. If you have any other queries or suggestions, let us know in the comment area.


Leave a Reply