Table of Contents
Introduction
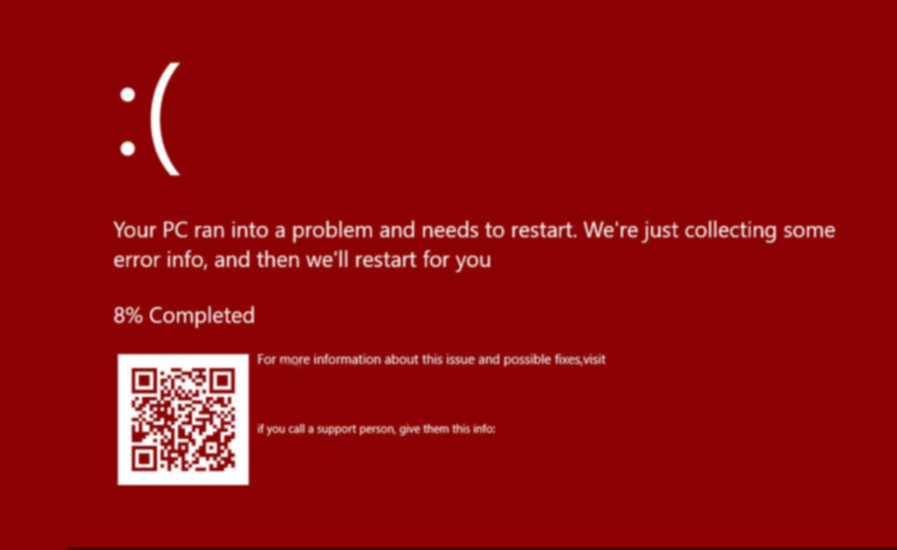
Before we discuss How to Fix the Red Screen Of Death Error in Windows 10, let us understand the Red Screen of Death first. A Red Screen of Death (RSOD) problem is less common than the Blue Screen of Death, but it occurs in all Windows versions. The RSOD first appeared in Windows Vista’s early beta versions, and it has since appeared on Windows XP, 7, 8, 8.1, and even 10. The RSOD has been superseded by some sort of BSOD in newer versions of Windows 8 and 10.
In this post, we’ll go over the reasons for the Red Screen of Death and offer you a variety of options for getting rid of it.
What causes the Red Screen of Death on Windows PC?
The Red Screen of Death is most commonly triggered by hardware malfunctions or unsupported drivers. There are a variety of causes for RSOD depending on when and where it develops. The issue could be:
- Corrupt or incompatible graphic card drivers if the RSOD occurs when playing games or performing any other hardware-intensive operation.
- While booting or updating Windows, an outdated BIOS or UEFI firmware can cause the RSOD.
- Imperfectly overclocked hardware components (GPU/CPU)
- Using new hardware components without installing relevant drivers
Steps To Fix Red Screen Of Death Error Windows 10
Following are the methods to fix the Red Screen of Death Error in Windows 10:
Method 1: Update your BIOS
An outdated BIOS menu is the most prevalent cause of the Red Screen of Death. BIOS, the first program that executes when you push the power button, stands for ‘Basic Input and Output System.’ It starts the booting process and guarantees that your computer software and hardware communicate properly (data flow).
In BIOS, locate and navigate to the Boot Order Options.
If your BIOS program is out of date, your PC may have trouble booting up, resulting in the RSOD. Each motherboard’s BIOS menu is unique, and the most recent version can be downloaded from the manufacturer’s website. On the other hand, BIOS updates are not as simple as clicking on install or update and require some knowledge. Improper installation can cause your computer to become unusable, so be cautious when installing the update and read the manufacturer’s instructions carefully.
Method 2: Remove Overclock Settings
It is common practice to overclock components in order to improve their performance. On the other hand, overclocking hardware is not as simple as it appears, and it takes regular tweaking to achieve the ideal mix. Users that get the RSOD after overclocking know that the components haven’t been properly configured, and you’re asking a lot more of them than they’re capable of. This will cause the components to overheat, resulting in a thermal shutdown.
So go into the BIOS panel and either lower the level of overclocking or restore the default parameters. Now use your computer to see if the RSOD appears again. If it doesn’t, you probably didn’t do a good job of overclocking. If you still want to overclock your computer, don’t go overboard with the performance settings or seek advice from a professional.
Furthermore, overclocking components means they demand a lot more juice (electricity) to operate, and if your power supply can’t produce the required quantity, the computer may crash. This is also true if the RSOD occurs while playing a graphics-intensive game or completing a resource-intensive operation. Before you go out and get a new power supply, unhook the power input to any components you aren’t using right now, such as the DVD drive or a secondary hard disk, and re-run the game or task. You should consider purchasing a new power source if the RSOD does not show up currently.
Method 3: Uninstall softOSD.exe process
In a few rare circumstances, the softOSD application has been shown to cause the RSOD. SoftOSD is a display-control software that comes pre-installed and is used to manage many linked displays as well as adjust display settings. Because the softOSD.exe process is not required for the normal operation of Windows, it can be uninstalled.
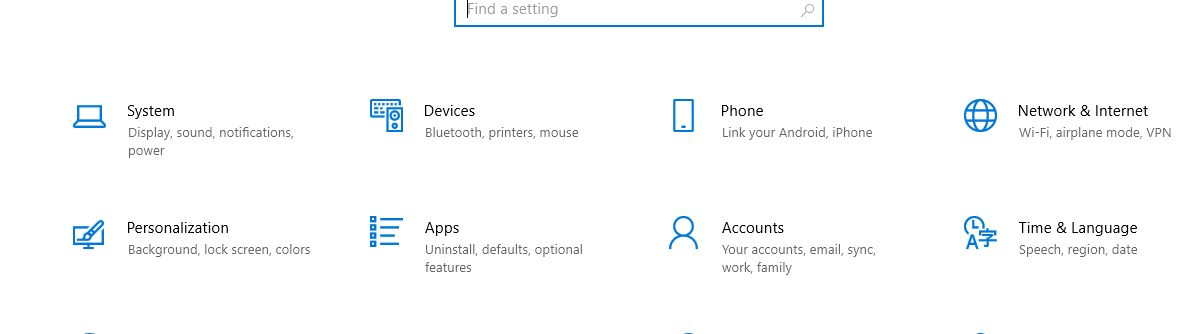
Step 1: By pressing the Windows key and I at the same time, you can access Windows Settings. Go to Apps and select it.
Step 2: Make sure you’re on the Apps & Features page, and then scroll down until you find softOSD on the right. Once you’ve discovered it, click on it to expand the options and choose Uninstall. You’ll get another pop-up asking for confirmation; click the Uninstall button once more. 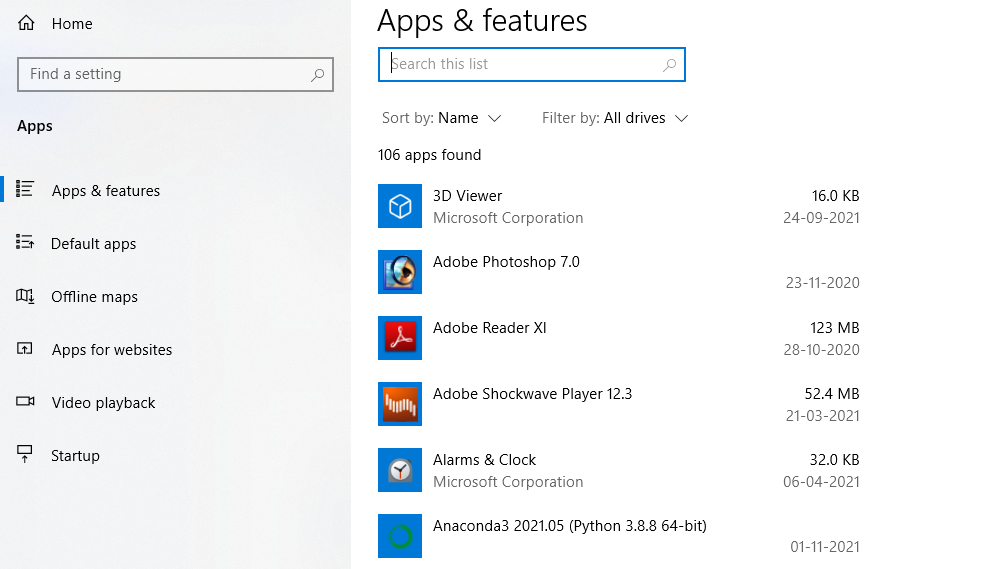
Step 3: You may be prompted to remove sds64a after the uninstalling procedure. It is skipped by the sys file.
Method 4: Modify settings.ini file
The popular first-person shooter game Battlefield: Bad Company 2 has been known to trigger the Red Screen of Death Error (RSOD) on Windows 10. While the actual cause is unknown, the problem can be resolved by changing the settings.ini file related to the game.
Step 1: To open the Windows File Explorer, press the Windows key + E and navigate to the Documents folder. To open the BFBC2 folder, double-click it. Some people will find the folder inside the ‘My Games’ sub-folder.
Step 2: Right-click on the settings.ini file to open it. Select Open With from the context menu that appears, then Notepad. (If the ‘Open With’ app options menu does not include Notepad by default, click Choose another App and then manually select Notepad.) Change the “DxVersion=auto” line to “DxVersion=9” once the file has opened. Otherwise, the game may stop running if you change any other lines. You can save your changes by clicking Ctrl + S or navigating to File > Save.
Now, run the game to see if the Red Screen of Death Error has been resolved (RSOD).
Method 5: Check for Hardware malfunctions
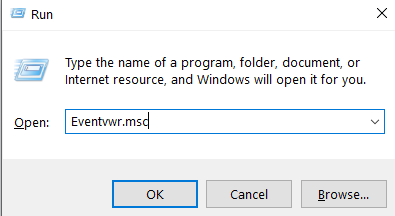
Step 1: To open Event Viewer, press Windows key + R to open the Run Command box, type Eventvwr.msc, and click OK.
Step 2: Click the arrow next to Custom Views, then double-click Administrative Events to see all the critical problems and warnings.

Step 3: Locate the Red Screen of Death error in the Date and Time column, right-click on it, and select Event Properties. The source of the error, the culprit component, and other details can be found on the General tab of the following dialogue box.
Step 4: To find out more, copy the error message (there’s a button for it on the bottom left) and do a Google search. You may also do the same thing by going to the Details tab. Once you’ve identified the hardware that’s causing the Red Screen of Death, update its drivers using Device Manager or a third-party application like DriverEasy.
If updating the drivers for the malfunctioning hardware did not solve the problem, it may be time to replace it. Check your computer’s warranty period and have it inspected at the nearest service center.
Conclusion
This article has provided all the required details to fix the red screen of death error on Windows 10. If you have any other queries, let us know in the comment area.

Leave a Reply