Table of Contents
Introduction
If your printer is stuck and you can’t print anything new, or if your printer shows a long queue of already printed documents, you’re unable to delete them. The solution is to clear the queue manually. Following are the steps required to clear the print queue in Windows 10.
Methods To Clear Print Queue In Windows 10
Method 1: Manually Clearing and Restarting the Print Spooler
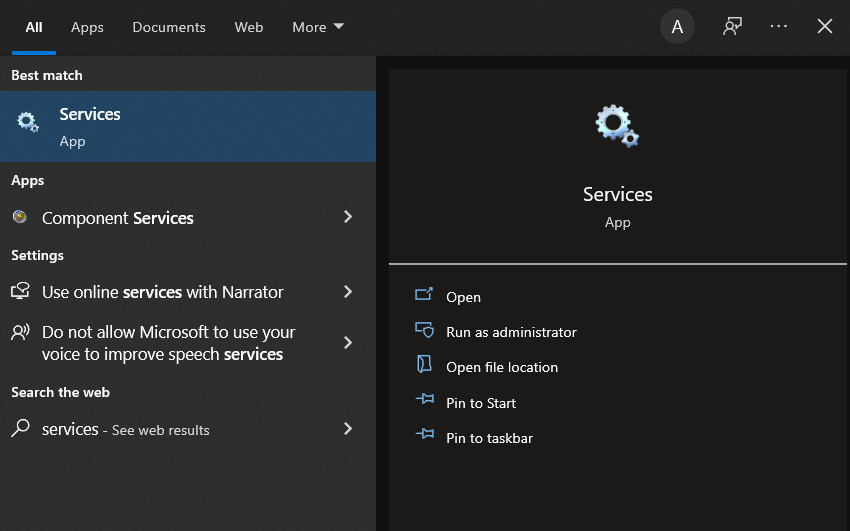
Step 1: Open the ‘Services’ app by typing ‘Services’ in the Windows search box.
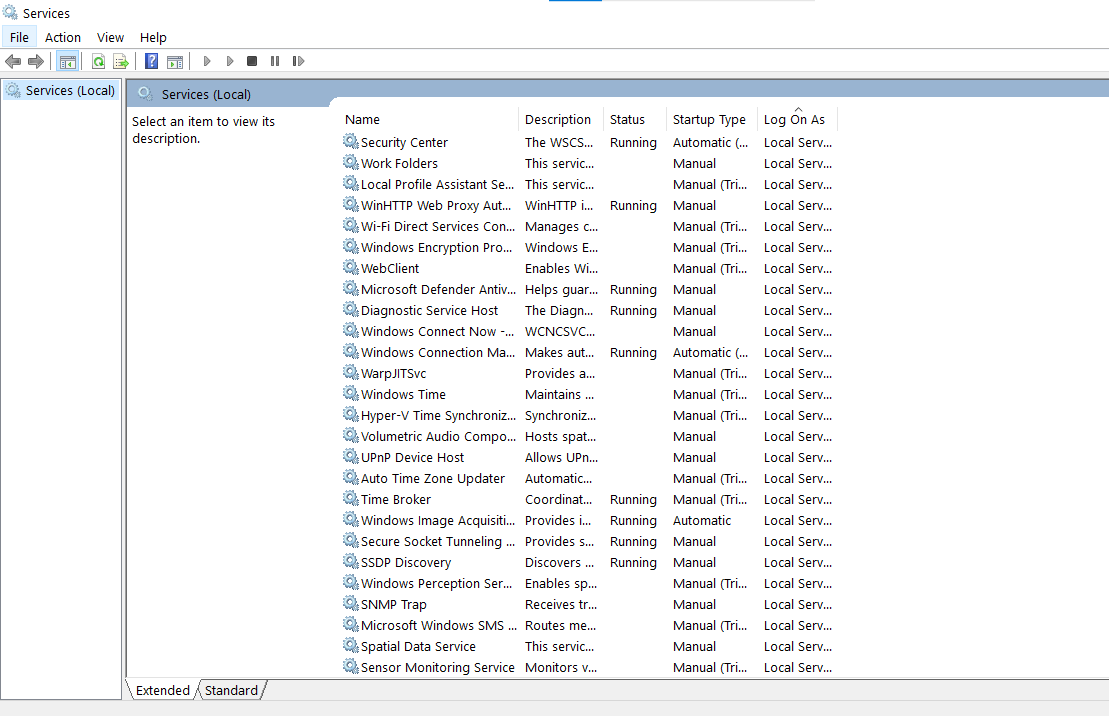
Step 2: Double-click ‘Print Spooler’ in the menu to open the Properties.
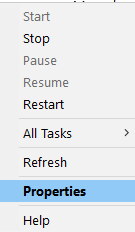
Step 3: In the Properties tab, click ‘Stop,’ then minimise the window to use it later. Or, you can directly stop it from the menu.

Step 4: Open ‘File Explorer’ and navigate to the following address:
C:\Windows\System 32\spool\PRINTERS
Step 5: If you’re asked for permission to enter an area, say yes. To proceed, click the ‘Continue’ button. Once you’ve arrived at your destination, select all of the files and delete them using the Delete key on your keyboard.
Step 6: Now, return to the Spooler properties window and press the ‘Start’ button.
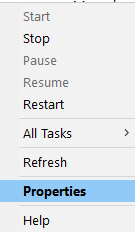
Step 7: Close the ‘Services’ app by clicking ‘Ok.’
The spooler will be restarted, and all papers will be forwarded to the printer for printing.
Method 2: Clear Print Queue using a Batch File for the Print Spooler
Step 1: Open a text editor on your computer, such as Notepad.
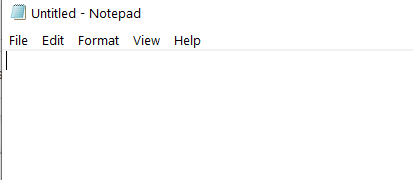
Step 2: Copy and paste the commands into separate lines.
Net stop spooler
Del/Q/F/S “%windir%\System32\spool\PRINTERS\*.*”
Net start spooler
Step 3: Choose ‘Save as’ from the ‘File’ menu. Choose ‘All files (*.*)’ in the ‘Save as type’ menu and name the file with the extension ‘.bat’ at the end. After that, simply click Save, and you’re done.
Step 4: Simply double-click the batch file to complete the task. Put it in the most accessible location on your desktop for simple access.
Method 3: Clear Print Queue Using Command Prompt
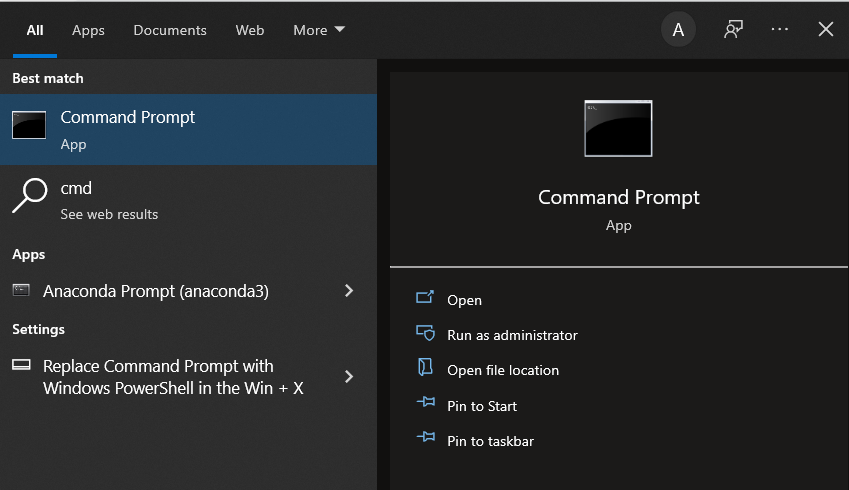
Step 1: In the search bar, type ‘cmd.’ Choose the option to run as administrator by right-clicking on the ‘Command Prompt’ app.
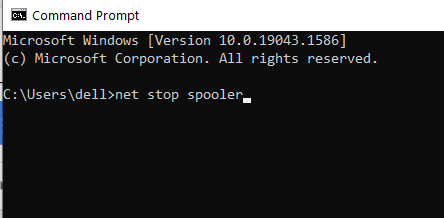
Step 2: Run the ‘net stop spooler’ command to terminate the spooler process.
Step 3: Type the following command and press Enter one more:
Del %systemroot%\system32\spool\printers\*/Q
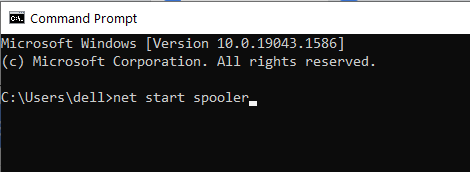
Step 4: This will accomplish the same goal as the previous techniques. Type the command ‘net start spooler’, and press enter to restart the spooler.
Method 4: Use the Management Console
To clear the print queue in Windows 10, use the service.msc shortcut in the management console. To delete a stopped print job, use this procedure to halt the spooler and clear it:
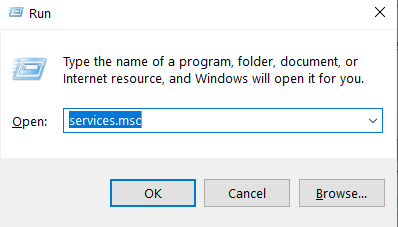
Step 1: To open the run window, hold down the Windows key and the R key at the same time. Hit Enter after typing ‘Services.msc’.
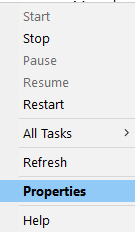
Step 2: Right-click Print Spooler in the Services box and select Properties.
Step 3: To stop the Print Spooler service, click the ‘Stop’ button.
Step 5: Close the window and launch the file explorer. ‘C: Windows System32 Spool Printers’ is the address to type or manually navigate to.
Step 6: Select and delete all of the files in the folder. They were the files in the print queue at the time of the instance.
Step 7: Return to the Services window and press the ‘Start’ button once more.
Conclusion
Follow all the steps mentioned above carefully. Don’t miss out on any actions. We have provided all the required steps to Clear Print Queue In Windows 10. Let us know in the comment section if you have any other ways.


Leave a Reply