Table of Contents
Introduction
Miracast, as the name implies, is a screen-casting technology that comes standard with Windows 10 and has since been embraced by other tech companies such as Google, Amazon, and others. The technology is based on the Wi-Di protocol, which means it functions without using a Wi-Fi router. Miracast allows you to mirror 1080p definition videos with 5.1 surround sound. Apart from Windows, all Android versions higher than 4.2 include built-in Miracast functionality. The use of HDMI cables is no longer necessary, thanks to Miracast. This post is for you if you want to set up Miracast on Windows 10.
Steps To Set Up Use Miracast on Windows 10
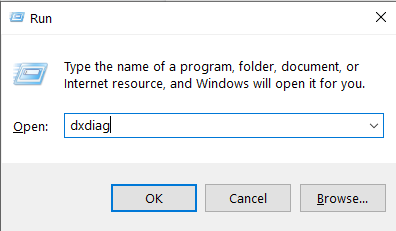
Step 1: To begin, use the Run Command box to see if miracast is supported on your device. To access the DirectX Diagnostic Tool, press the Windows key and R simultaneously, type “dxdiag,” and click OK.
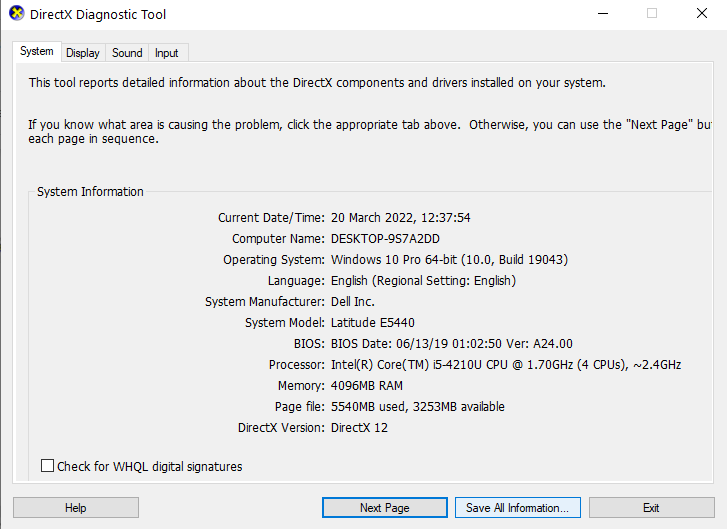
Step 2: At the bottom of the window, click the Save All Information button. Choose a suitable location for saving the file and check that the file type is text.
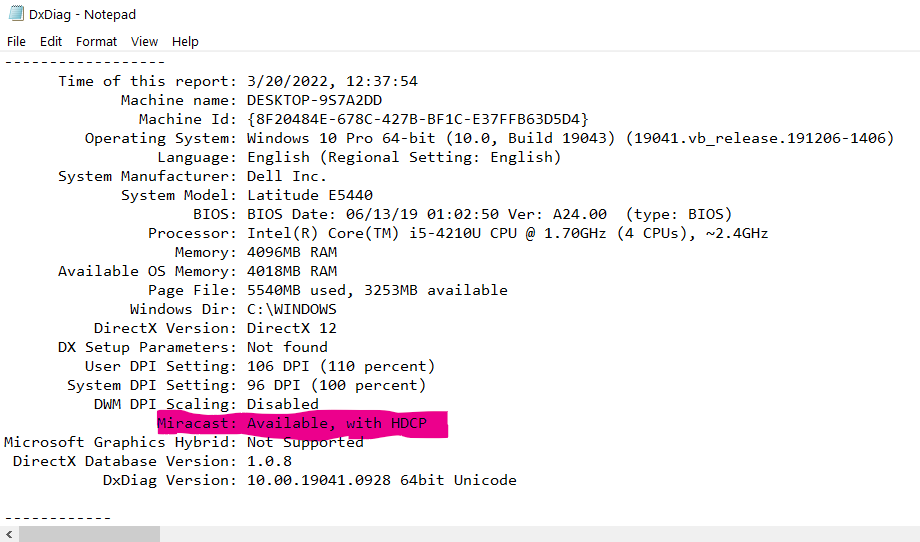
Step 3: In Notepad, locate and open the saved.txt file. To open up the search window, press Ctrl + F and type in Miracast.
Step 4: You may also see if Windows Settings supports Miracast technology. Go to system settings. Under System settings, click on display scroll down the right panel to the multiple displays. If Miracast technology is supported, you’ll see a link that says, “Connect to a wireless display.
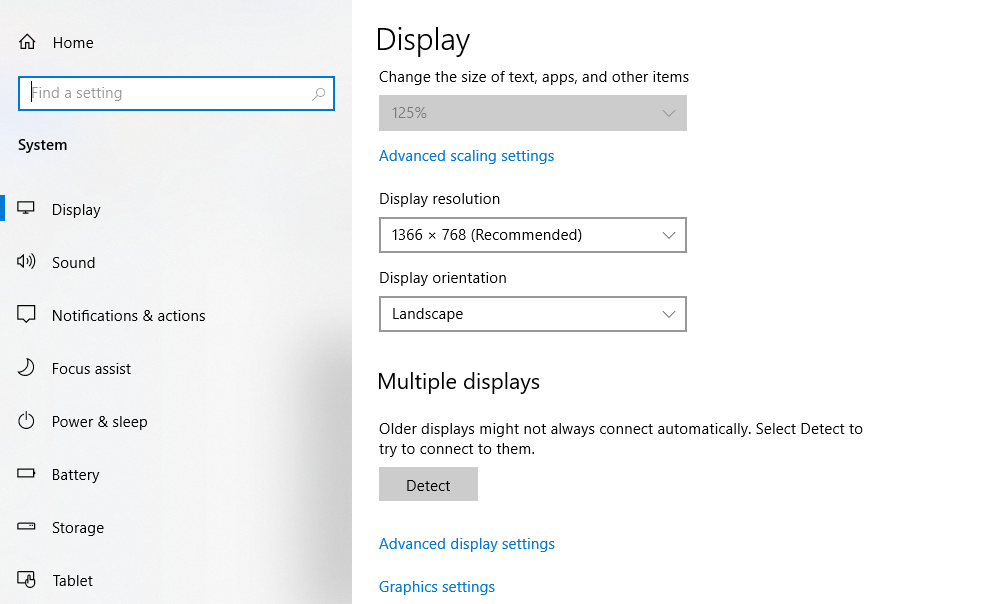
Now, you can see that your device is compatible with Miracast. Follow the next set of steps to set up Miracast on Windows 10.
Step 5: Open settings and click on devices.
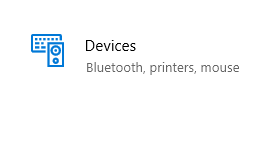
Step 6: Go to Bluetooth and other devices. Click on add Bluetooth or another device.

Step 7: Now, click on the wireless display or dock.
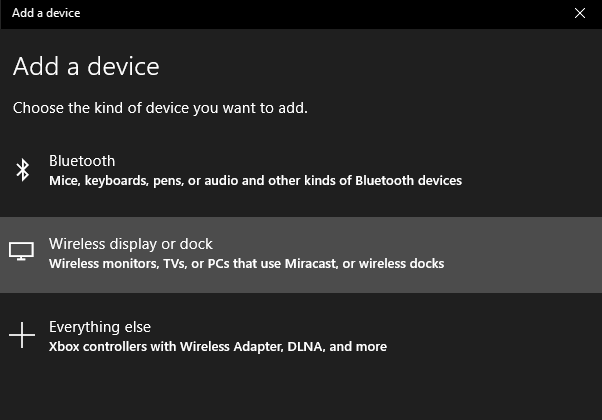
Step 8: The computer will begin looking for any Miracast devices currently operating within its range. To make a connection and project your computer screen on another screen, simply click on your Miracast device/adapter in the search results.
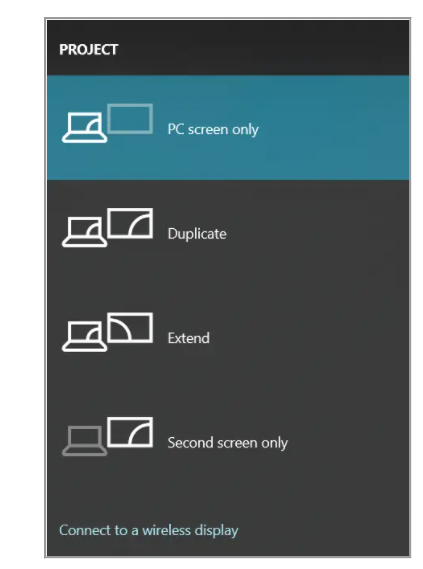
Now, press Windows key + P to bring up the display switcher menu, where you can adjust the two screens to your liking. This can also be done before the two devices are connected.
Conclusion
In this article, we have outlined all the methods to help set up Miracast on Windows 10. If you have any other queries or suggestions, let us know in the comment area.


Leave a Reply