Table of Contents
Introduction
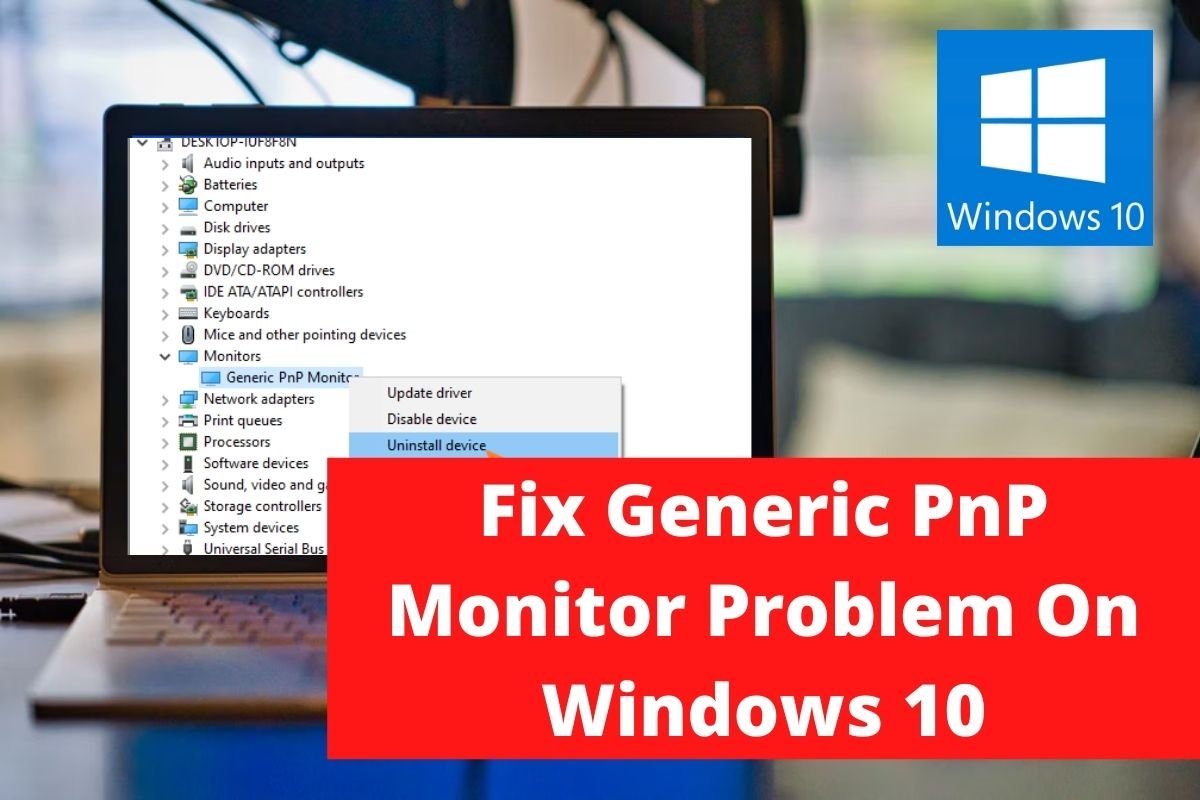
If you are looking to fix the generic PnP monitor problem on Windows 10, this article is for you. In this article, we have highlighted the required methods to fix the generic PnP monitor problem on Windows 10.
Method 1: Reconnect the Cables
Close all open application windows, then select Shutdown from the Power menu in the Start menu. Turn off the power switch and gently detach the monitor’s power line once the computer has completely stopped down.
Remove the video cord from your monitor to your CPU after 10 minutes. Disconnect both wires for 10-15 minutes before plugging them back into their respective ports.
Check if the Generic PnP Monitor problem still exists after restarting your computer.
Method 2: Uninstall Generic PnP Drivers
Step 1: To access the Device Manager, use Windows key + R to enter the Run command box, type devmgmt.msc, and click Ok. You can try using the Cortana search bar to look for the same thing.

Step 2: To expand Monitors in the Device Manager window, either double-click on it or single-click on the arrow to its right.
Uninstall the device by right-clicking Generic PnP Monitor.

Step 3: Click on Uninstall to confirm.

Step 4: After uninstalling, expand the Action menu and select Scan for Hardware Changes from the drop-down menu. Later, restart your computer.

Method 3: Update Generic PnP Drivers
Step 1: Follow the previous steps to open the below window, then right-click on the Generic PnP Monitor and click on update driver.

Step 2: Now, select “search automatically for drivers.”

Step 3: If searching fails, click on browse my computer for drivers.

Step 4: Choose the option “Let me pick from a list of available drivers on my computer”.

Step 5: Tick on show compatible hardware, select generic PnP monitor, and click on next to install them.

Method 4: Update Graphics drivers
Step 1: Expand the Display Adapter category in Device Manager once more. Select “Update driver” from the menu of your computer graphics device.

Step 2: Select Automatically search for drivers now, and Windows will check for updated drivers. After the installation of new drivers, restart the computer.

Method 5: Run a System File Checker scan
Step 1: Press the Windows key, then search for cmd and open it.

Step 2: Type the command sfc /scannow. Or alternatively, you can copy-paste the command and execute it in cmd. Do not close the Command Prompt before the verification is completed. Later, Restart the computer.

Method 6: Update Windows
Step 1: Go to system settings. Then, click on update and security.

Step 2: Click on check for updates then update your windows if required.

Conclusion
This article has given all the required steps to fix the generic PnP monitor problem on Windows 10. If you have any other issues or suggestions, let us know in the comment area.


Leave a Reply