Table of Contents
Introduction
If you are willing to take a screenshot on your Lenovo computer but don’t know how this article will help you. Let us begin by informing you that the specs for most computers are essentially the same. It varies depending on the operating system, but you may have the same features as long as you have Windows. There are two ways to snap screenshots on your Lenovo computer: using the shortcut keys or using the built-in feature on your computer. In this article, we will learn how to Capture A Screenshot On Lenovo Computer.
Steps To Capture A Screenshot On Lenovo Computer
Step 1: On your keyboard, press the Windows “key + print screen.” It will allow you to take a screenshot quite easily. If you do not have a print screen key on your keyboard, move forward to the next step.
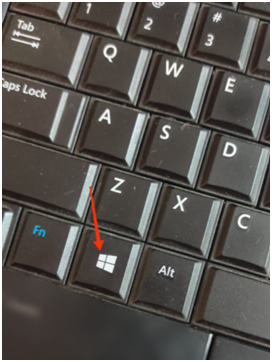
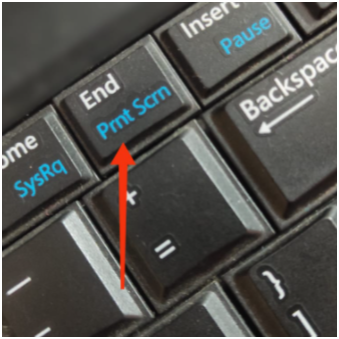
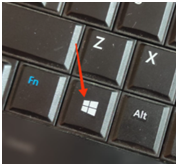
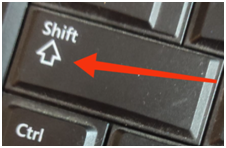
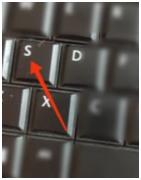
Step 2: On your keyboard, press the Windows key + shift + s. Press them all together to take a screenshot on your computer.
Step 3: After taking a screenshot, you’ll observe the snipping tool icon on your taskbar. You can also pin it to the taskbar if you want. Click on the icon and pin it to the taskbar. So that every time you wish to take a screenshot, you do not have to play with the keys all the time. Now, open the snipping tools from the taskbar.

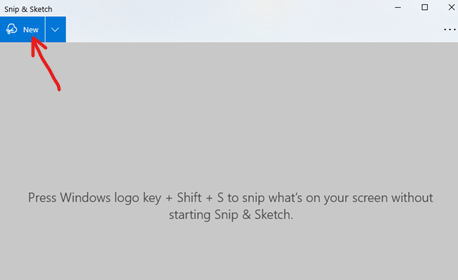
Step 4: Tap on the new button, and you can easily take a screenshot.
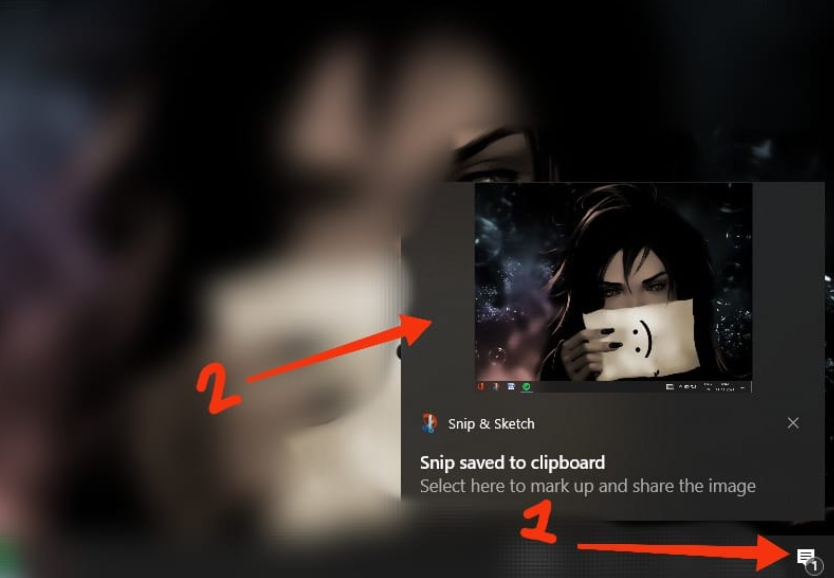
Step 5: To find the screenshot, click on the notification icon at the right corner at the end of your screen and click on it to open it. From there, you can save it or copy it as per your requirements.
Conclusion
We have provided all the necessary steps regarding how to Capture A Screenshot On Lenovo Computer in the preceding post. However, if you still have trouble regarding this, inform us in the comment area.


Leave a Reply