Table of Contents
Introduction
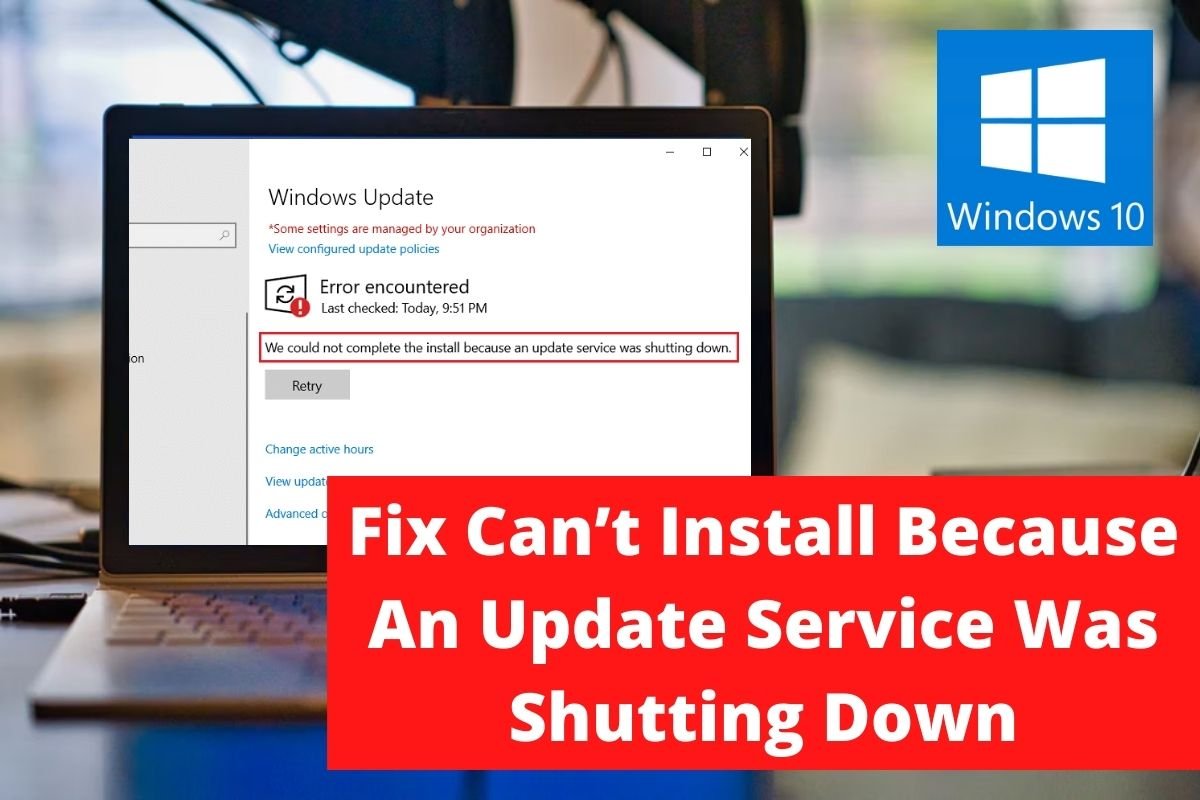
If you see an error notice that says, “We couldn’t complete the install because an update service was shutting down,” don’t panic; you’ve come to the right spot and are reading the right article. The truth is, we’ve been in a similar predicament and looked for solutions as well. We completely understand your predicament, and we hope that this post may be of use to you. You may fix can’t install because an update service was shutting down error by going through the provided solutions and following our procedures.
In this article, we will learn simple steps and methods on how to Fix Can’t Install Because An Update Service Was Shutting Down.
Reboot Your Computer
You’ll need to reboot your computer to install pending Windows updates most of the time. The system requires that the update services of Windows be validated.

When it comes to issues, you’ve probably handled a lot of them by just rebooting your computer. Surprisingly, it works the majority of the time. As a result, all you have to do now is reboot your computer to fix the Windows issue. To restart your computer, use Alt+F4 or go straight to the start menu. We’ve included some alternative options to assist you if it doesn’t work.
Run Troubleshooter
Step 1: To access Settings, press Windows Key + I, then select Update & security options.

Step 2: The Troubleshoot option is located on the left. Select it by clicking on it.

Step 3: Select Additional troubleshooters from the drop-down menu. Click the Windows Update option in this extra troubleshooting area. Finally, select the option to run the troubleshooter.

Make Sure Windows Update Service is Running
Step 1: To open the Run window, press Windows Key + R, then type services.msc in the box and click OK.

Step 2: A window Services Snap will appear now. In the Name area, look for the Windows Update option. If the Windows Update service is set to Manual under the Startup Type, double-click on it. Now, select Automatic from the Startup Type dropdown option and hit Enter.
Step 3: After that, click Apply and then OK. As a final step, try reinstalling the pending system updates once more.
Uninstall Third-Party Antivirus Software
Step 1: To begin, use Windows Search to locate and open the Control Panel. Select the ‘Uninstall an application’ option from the Control Panel’s Programs section.

Step 2: A new window will appear. Now look for the third-party app you wish to get rid of. Now pick Uninstall from the context menu by right-clicking on it.
Conclusion
In this article, we have outlined all the required details to fix can’t install because an update service was shutting down an error. However, if the error still continues, you can try resetting Windows 10. If you have any other queries, let us know in the comment area.


Leave a Reply