
Table of Contents
Introduction
Every file and application on Windows has the potential to become corrupt at some point. This applies to both native and web applications. Many people have recently reported that their Windows Registry Editor has been corrupt, resulting in a slew of issues. For those who are unfamiliar, the Registry Editor is a database that maintains the configuration settings of all installed applications. When a new application is installed, the Windows Registry stores information about it, such as its size, version, and storage location. Applications can be configured and troubleshoot using the Editor. Since the Registry Editor stores the configuration and internal settings for everything on our computer, it is recommended that any modifications to it be done with the utmost caution. If one is not careful, the editor can become corrupt and cause great harm. As a result, always make a backup of your registry before making any changes. Aside from inadvertent manual changes, a malicious application or virus and any unexpected shutdown or system crash can all corrupt the registry. A severely corrupted registry will prohibit your computer from booting at all (booting will be limited to the blue screen of death), and if the corruption isn’t severe, you may occasionally get the blue screen error. Frequent blue screen failures will damage your computer’s performance, so it’s critical to fix a corrupt registry editor as soon as possible.
In this post, we’ve covered how to fix a corrupt registry in Windows 10 as well as how to back up the registry editor before making any changes.
Steps To Fix Corrupted Registry In Windows 10
Following are the methods to fix corrupted registry in Windows 10:
Method 1: Use Automatic Repair
Step 1: Press the Windows button or click on the Windows icon. Then, go to settings.

Step 2: Click on update and security.
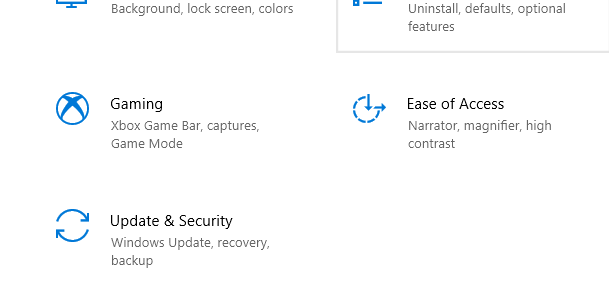
Step 3: Now, go to recovery. Then click on restart now.

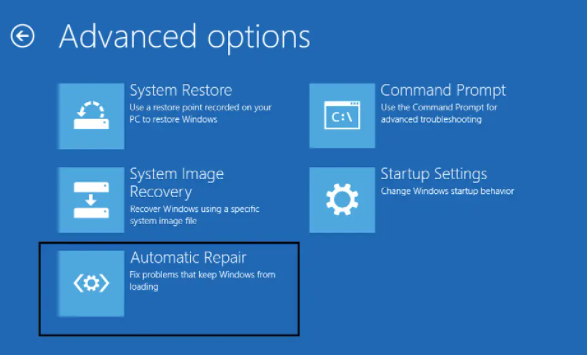
Step 3: Click on troubleshoot. Go to advanced options. Click on automatic repair.
Method 2: Run an SFC & DISM Scan
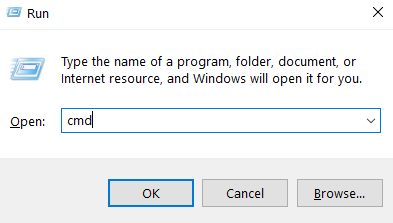
Step 1: Press Windows key + R. Then, type cmd and press Ctrl Shift + Enter to open Command Prompt with Administrative privileges. Now, click Yes on the User Account Control pop-up that appears to grant the appropriate permissions. OK.
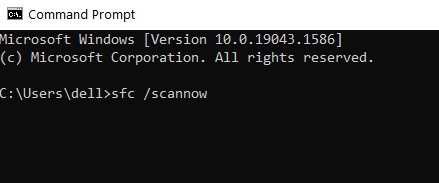
Step 2: Now, type or copy-paste the following command and press Enter to execute it.
sfc /scannow
Step 3: After the SFC scan has verified all system files’ integrity, execute the below command.
DISM /Online /Cleanup-Image /RestoreHealth
Method 3: Use a Bootable Windows Disc
Step 1: Turn your computer off and plug in the bootable drive.
From the drive, start the computer. To boot from the drive, you’ll be required to press a specific key on the start-up screen; follow the instructions. Click Repair your computer on the Windows Setup page.

Step 2: The Advanced Recovery menu will now appear when your machine boots up. Choose Advanced Options, and then Troubleshoot.

Step 3: Select Startup or Automatic Repair on the next screen. To proceed, choose a user account and enter the password when requested. Windows will begin an auto-diagnosis process and attempt to fix the faulty registry.
Method 4: Reset your Computer
Step 1: To open the Settings app, press Windows key + I and select Update & Security.

Step 2: Return to the Recovery screen and, under Reset This PC, select the Get Started button.
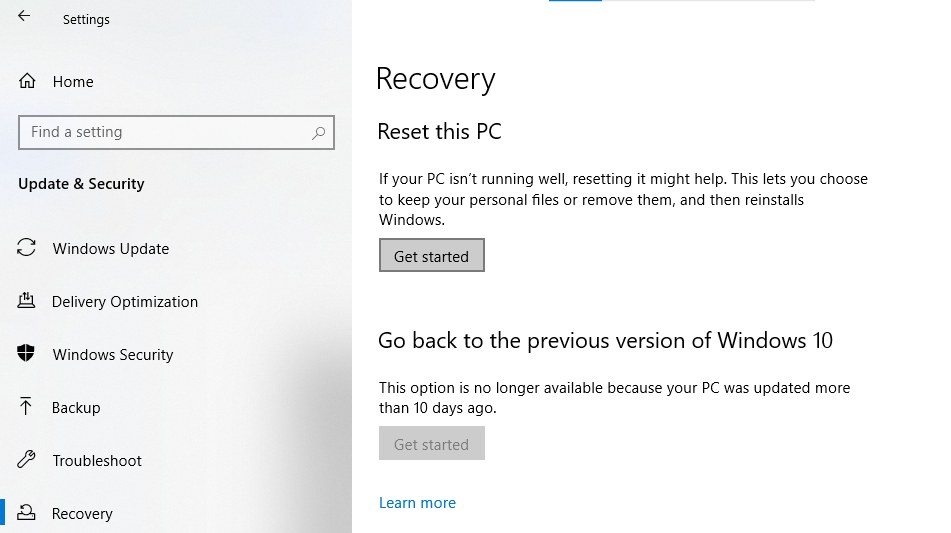
Step 3: Choose ‘Keep my files’ in the next window; obviously, this option will not erase your personal files, but it will delete all third-party apps and revert the settings to default. To complete the resetting, follow all of the on-screen directions.

Method 5: Restore a System Backup
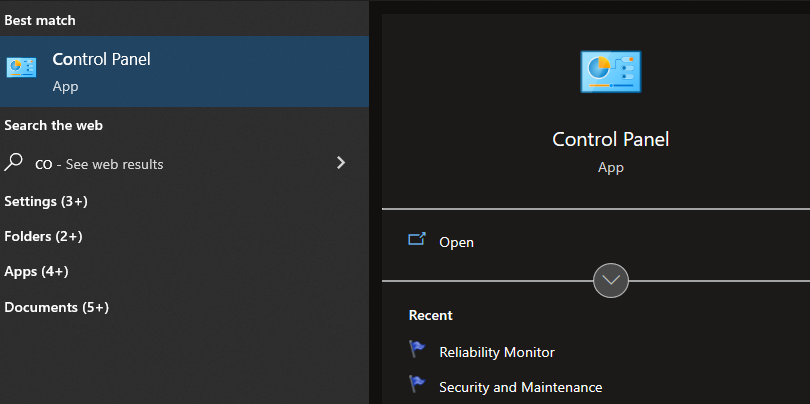
Step 1: To open the application, type the control or control panel into the start search field and click enter.
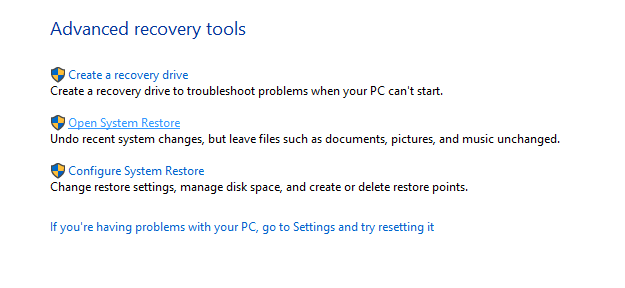
Step 2: Select Recovery. To find the desired item easier, change the icon size in the top-right corner.

Step 3: Click the “Open System Restore” hyperlink under advanced recovery tools.
Step 4: To proceed, click the Next button in the System Restore window.

Step 5: Examine the Date & Time information for each restoration point and try to recall when the corrupt registry problem initially surfaced (Tick the box next to “Show more restore points” to view all of them). Choose a previous restoration point and then click Scan for Affected Programs.
Step 6: The apps and drivers that will be replaced with their earlier versions will be listed in the next window. Click Finish to restore your computer to the state it was in at the specified restore point.
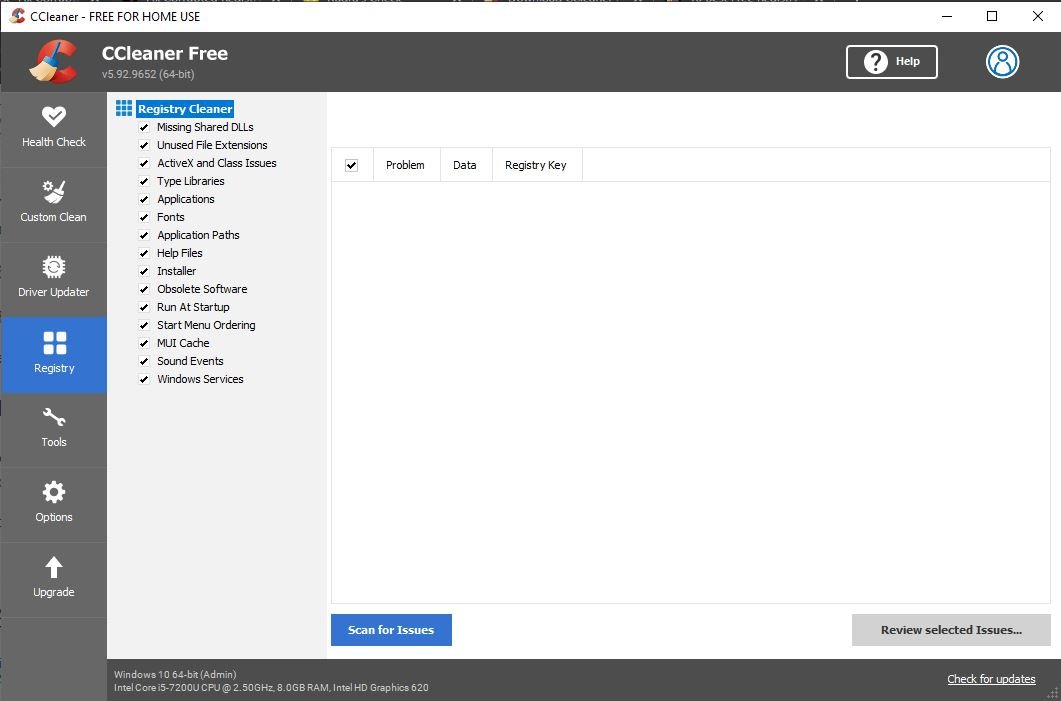
Method 6: Use 3rd Party Apps like CCleaner
Download and Install CCleaner or any other 3rd party Registry Fixing Software
Run “Scan for Issues” under the Registry cleaner option as shown below:
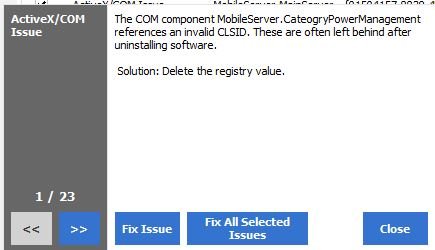
Once the issue is identified, thereafter click “Review selected Issues” and save the backup:
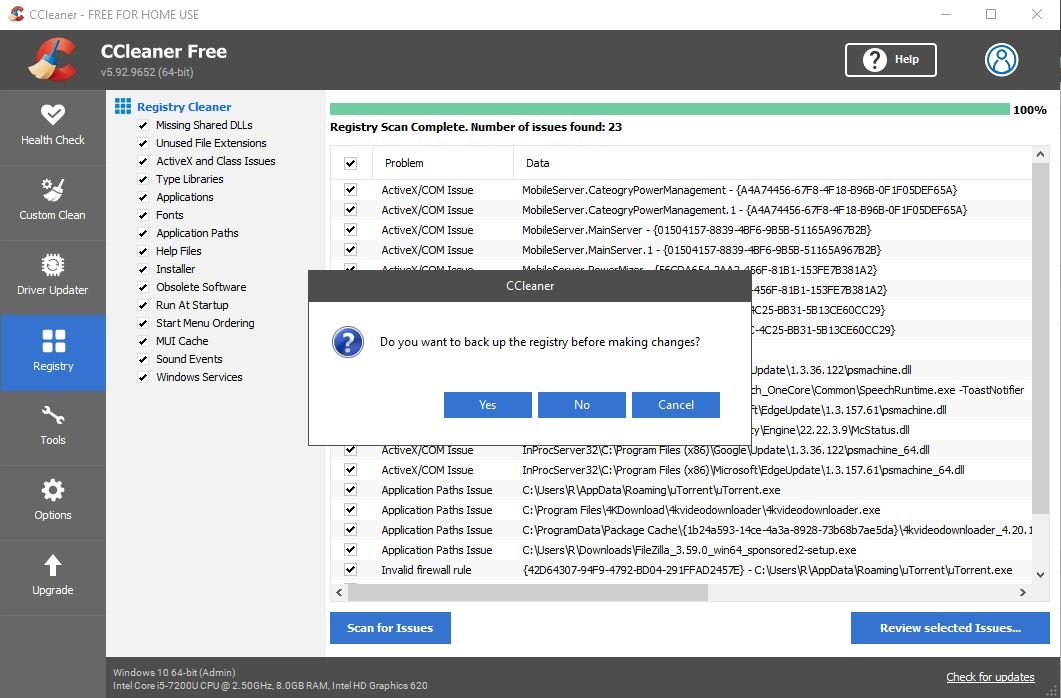
Now, click on “Fix All Selected Issues.”
How to Backup the Registry Editor?
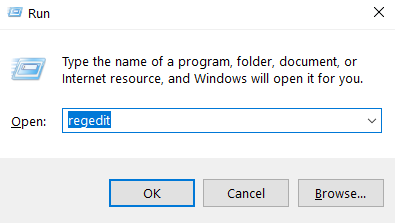
Step 1: To open the Registry Editor, type regedit in the Run command box and press Enter. In the User Account Control pop-up that appears, select Yes.
Select Export by right-clicking on Computer in the left pane.
Step 2: To export the register, choose a suitable location (preferably save it in an external storage medium such as a pen drive or on a cloud server). Include the backup date in the file name to make it easier to locate (for example, Registry backup 17 Nov).
Step 3: To complete the export, click Save.
Step 4: If the registry becomes corrupted again in the future, simply connect the backup storage media or download and import the file from the cloud. Open the Registry Editor and select File from the File menu to import. From the pop-up menu, choose Import, then go to the registry backup file and click Open.
To avoid repeated troubles with the Registry Editor, uninstall software correctly (deleting their residual files) and run antivirus and antimalware scans on a regular basis.
Conclusion
In this article, we have outlined all the steps in order to fix the corrupted registry in Windows 10. If you have any other queries or suggestions let us know in the comment area.
Read All Windows Related How-To & Fixes here.

Leave a Reply