Table of Contents
Introduction
Are you facing Gmail queues and failed errors over and over again? Then, this post is for you. Follow all the given instructions properly to fix the issue you are facing. In this article, we will learn simple steps and methods on how to Fix Gmail Queued And Failed Error in Android.
Steps To Fix Queued And Failed Error
Step 1: Firstly, check if your device has a proper internet connection.
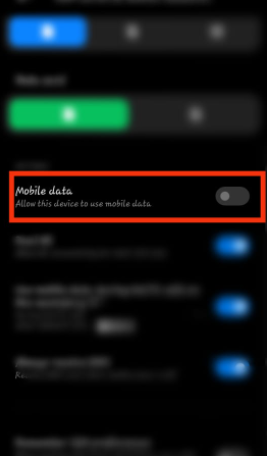
Step 2: If not, then connect it to the internet.

Step 3: Open your Gmail and go to the outbox section. Now, refresh the page and check if the messages are removed from the queue.
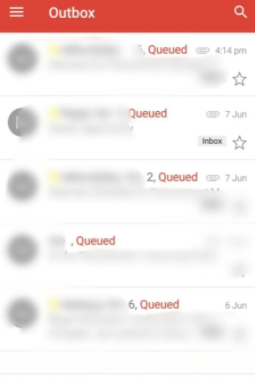
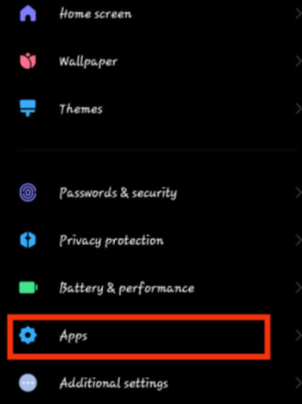
Step 4: Now, if it does not help. Move towards the next step. Go to mobile settings, tap on apps.
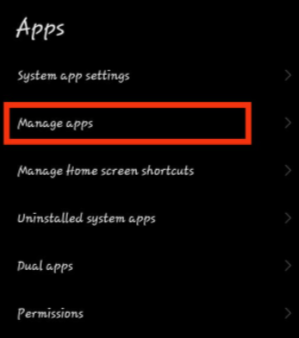
Step 5: Go to manage apps.
Step 6: Open Gmail.
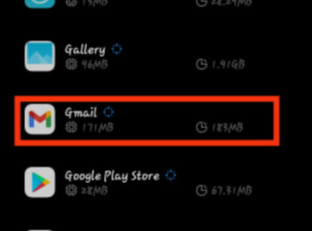
Step 7: Now, tap on clear data.
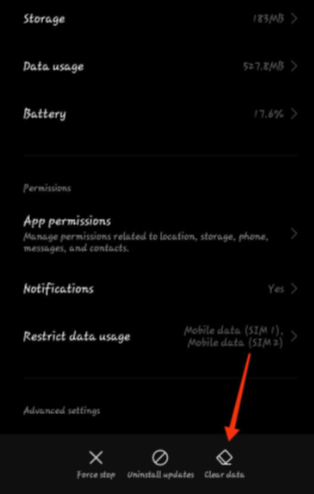
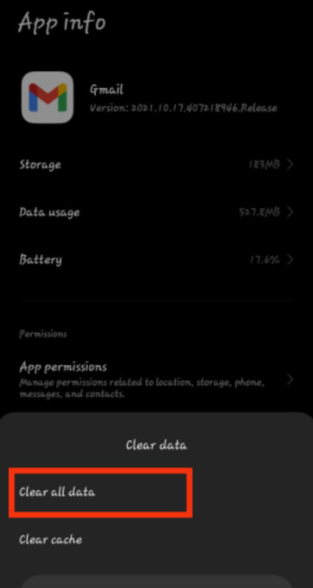
Step 8: Now, clear the cache. If it sorts out the problem, then it is fine. Otherwise, move on to the next step.

Step 9: Now, repeat the above process but instead of clear cache, tap on clear data. Then again, log in to your accounts, and it will resolve the issue.
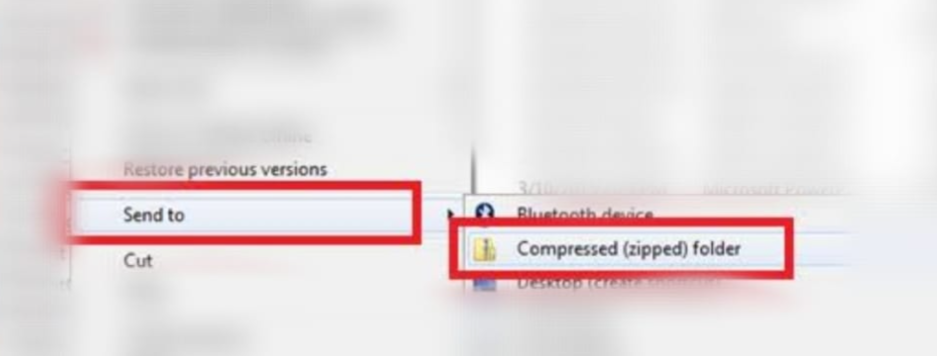
Step 10: Also, if you are using a desktop but are still unable to send files as they are queued or are failing to send the email. This might be happening due to the large size of the attachment. In that case, select the file and compress it. Then, email it again.
Conclusion
We have provided all the possible steps to fix Gmail queued and failed errors in the preceding post.


Leave a Reply