Table of Contents
Introduction
A Blue Screen Of Death (BSOD) is a splash screen that briefly shows information about a system crash before restarting your computer. Prior to conducting the restart, it saves the crash log files in the system. Incompatible software interfering with operating system functions, memory overflow, hardware overheating, and botched system modifications are some of the causes of the BSOD.
The BSOD records important information about the incident and saves it on your computer so that it may be retrieved and transmitted to Microsoft for further investigation. It contains specific codes and information that enable the user to troubleshoot computer problems. These files cannot be downloaded in a human-readable format, but they can be read using the system’s particular software.
If you are willing to know Where Is The BSOD Log File Located In Windows 10, then this article is for you.
Where Is The BSOD Log File Located In Windows 10?
To find the location of the Blue Screen of Death, BSOD error log file on Windows 10, follow the given procedure:
Access the BSOD log files using the Event Viewer Log
The Event Viewer Log is used to view the contents of event logs, which are files that keep track of when services start and end. Like the BSOD log, it can be used to diagnose issues with the system and functions. The Event Viewer Log can be used to search for and examine BSOD log files. It goes through your computer’s memory dumps and gathers all of the logs.
The Event Viewer Log is also useful for resolving any problems that arise when the system encounters a Blue Screen of Death. Let’s look at how to use the Event Viewer Log to get to the BSOD log files:
Step 1: Press the Windows key, then type Event viewer and click on it from the search results.

Step 2: Select the Action tab from the drop-down menu. From the selection menu, choose “Create Custom View.”
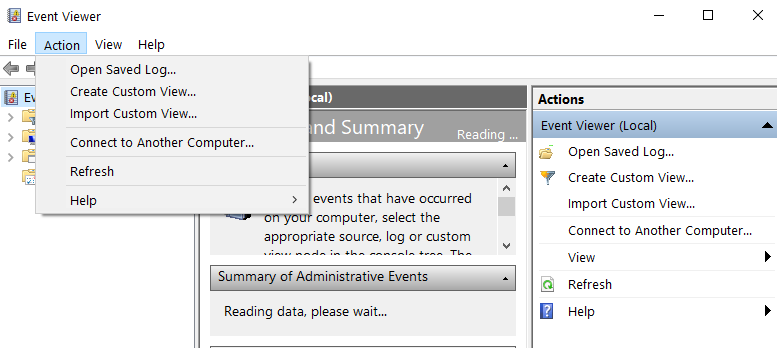
Step 3: You will now be demonstrated with a screen that allows you to filter the event logs based on various attributes. Choose the time range from which you want the logs in the Logged section. Select Error as the Event level.

Step 4: Click OK after selecting Windows Logs from the Event log type dropdown.

Step 5: Change the name of your view to whatever you like and then click OK. The Error events will now be visible in the Event Viewer. To get the BSOD log information, select the most recent incident. To learn more about the BSOD error logs, go to the Details tab after you’ve selected them.
Use Windows 10 Reliability Monitor
The Windows 10 Reliability Monitor is a feature that allows users to check the stability of their machine. It examines issues with the application crashing or not responding in order to provide a chart depicting the system’s stability. The Reliability Monitor assigns a score from 1 to 10 to the level of stability. The higher the number, the better the stability. Let’s have a look at how to get to this tool from the Control Panel:
Step 1: To open the Windows Search Bar, press the Windows key + S. Open Control Panel by typing it into the search box. After that, go to System and Security and select Security and Maintenance.

Step 2: Expand the maintenance section and select “View reliability history” from the drop-down menu.
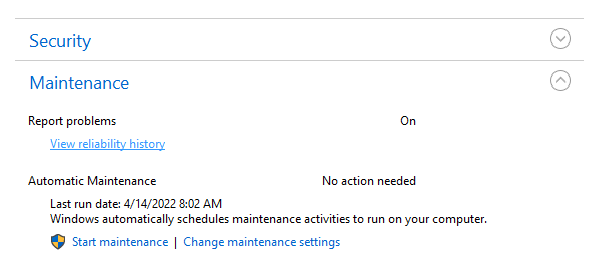
Step 3: The reliability data is displayed as a graph, with the instabilities and mistakes represented as points on the graph. The red circle denotes a mistake, while the I denotes a warning or significant event in the system.
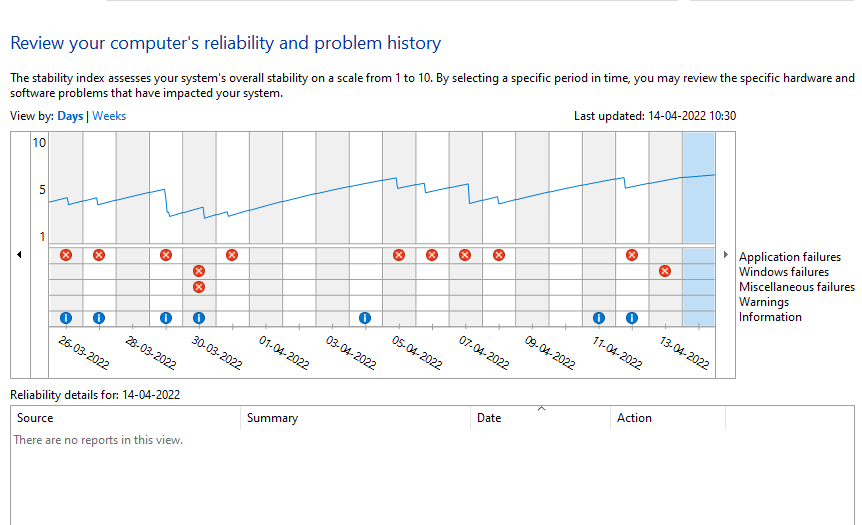
Step 4: When you click on the error or warning symbols, you’ll get more information about the problem, including a summary and the precise moment the incident occurred. To learn more about the BSOD crash, you can expand the details.
Disable or Enable Memory Dump Logs in Windows 10
Memory dump and kernel dump logs can be disabled or enabled in Windows. It is possible to alter the amount of storage space allotted to these dumps in order to save logs from system crashes. “C:Windowsmemory.dmp” is the default location for the memory dump. You may easily alter the memory dump files’ default location and enable or disable the memory dump logs:
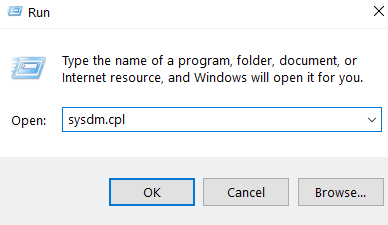
Step 1: Press Windows + R. In the window, type “sysdm.cpl” and press Enter.
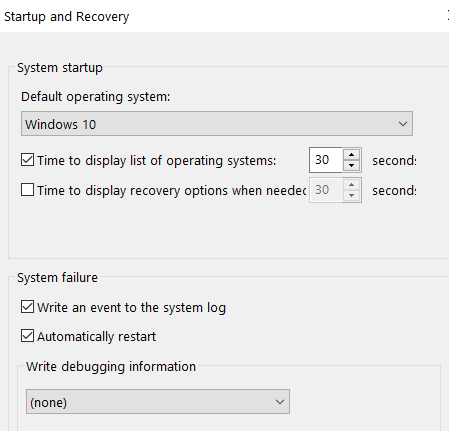
Step 2: Under Startup and Recovery, go to the Advanced tab and click the Settings button.

Step 3: You may simply choose None from the dropdown to turn off the dump. You won’t be able to report errors because the logs won’t be saved if the system crashes.

Step 4: It is possible to change the dump file’s location. Select the appropriate memory dump, and then type in the new location in the “Dump file” area. To save your changes, click OK and then restart your computer.
Memory dumps and BSOD log files assist the user in resolving various issues on a Windows PC. Also, you can use the QR code displayed during the BSOD crash on a Windows 10 computer to check the issue. Microsoft offers a page dedicated to error codes and their probable interpretations. Test these strategies to see if you can identify a solution to the system’s instabilities. 6. To save the changes, click OK and then restart your computer.
Conclusion
In this article, we have outlined all the steps in order to help you know Where Is The BSOD Log File Located In Windows 10. If you have any other queries or suggestions, let us know in the comment area.


Leave a Reply