Table of Contents
Introduction
There are various factors that contributed to Windows 10 becoming the finest Windows version ever. Support for hardware virtualization, and hence the ability to build virtual machines, is one such capability. Virtualization is the production of a virtual instance of something (the list includes an operating system, storage device, network server, and so on) on the same set of hardware for those who are unfamiliar. Users can use a virtual computer to test beta software in a controlled environment, transition between two operating systems quickly, and so on. Virtualization is deactivated by default on Windows, despite the fact that most users have no need for it. It must be manually enabled from the BIOS menu, followed by the installation of Windows’ virtualization software (Hyper-V). In this post, we’ll go over all of the finer points to Enable Virtualization in Windows 10, as well as demonstrate how to construct a virtual machine.
Steps to Enable Virtualization on Windows 10
BIOS, the program that ensures your computer boots up properly, is also in charge of a variety of other advanced capabilities. As you might expect, the BIOS also provides the settings to enable virtualization technology on your Windows 10 PC. You must first enable virtualization in the BIOS menu before you can use Hyper-V and control your virtual machines. Now, BIOS software differs from one manufacturer to the next, as does the method of accessing the BIOS menu (BIOS key). The simplest approach to access BIOS when the computer boots is to continually press one of the following keys (F1, F2, F3, F10, F12, Esc, or Delete). If you don’t know your computer’s BIOS key, use the instructions below to enable virtualization on your Windows 10 PC:
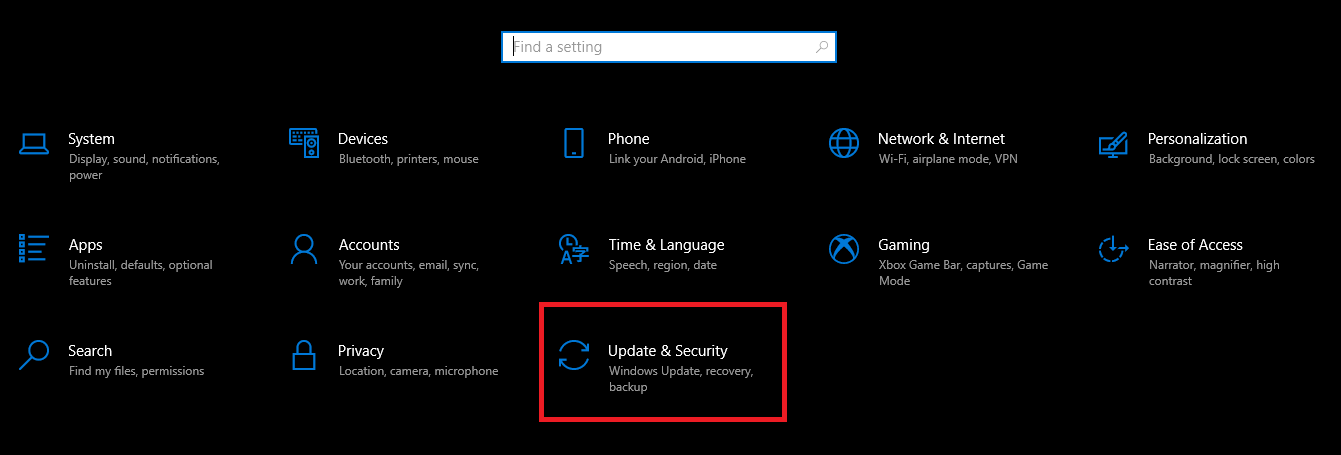
Step 1: Open Windows Settings by using the Windows key + I hotkey combination and selecting “Update and Security.”
Step 2: Navigate to the Recovery Settings page using the left navigation menu.
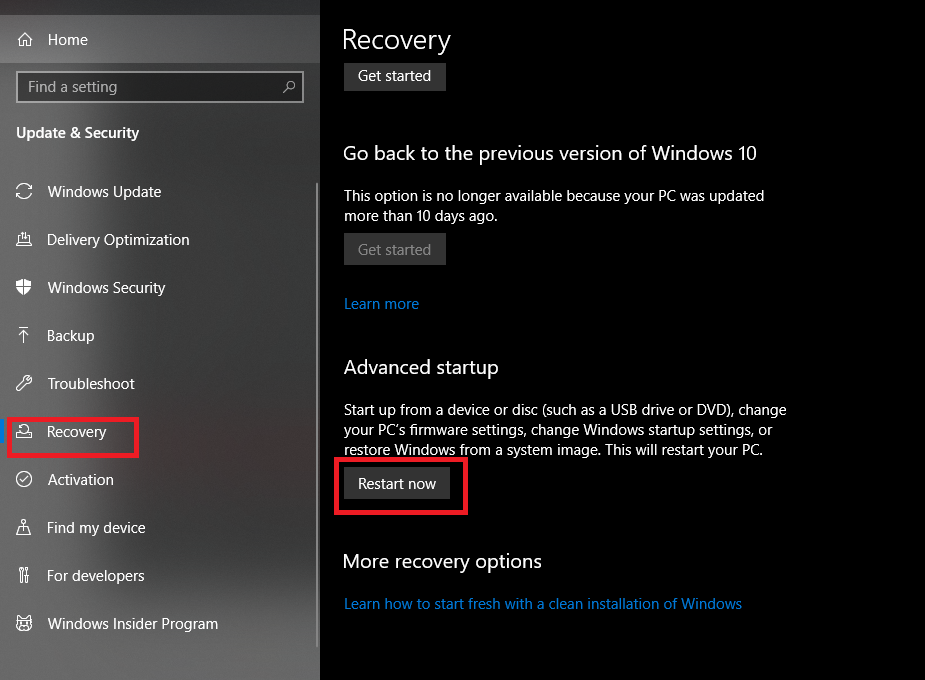
Step 3: In the Advanced startup section, click the Restart Now button.
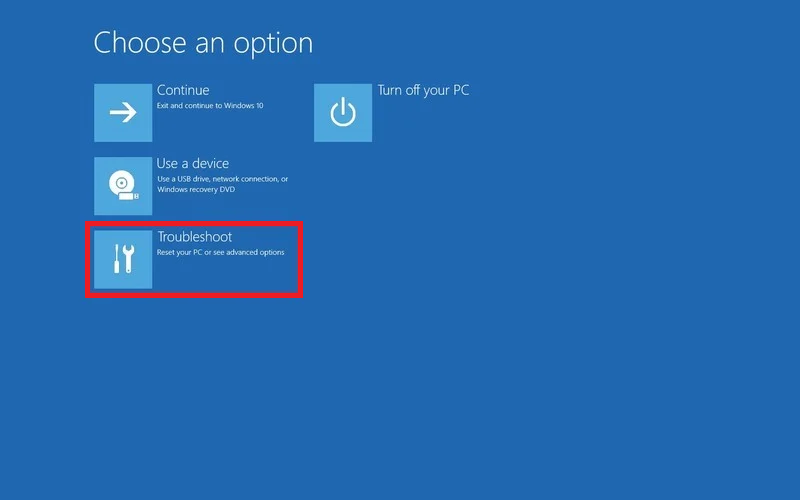
Step 4: Select Troubleshoot and Advanced Options from the drop-down menu on the Advanced starting page.
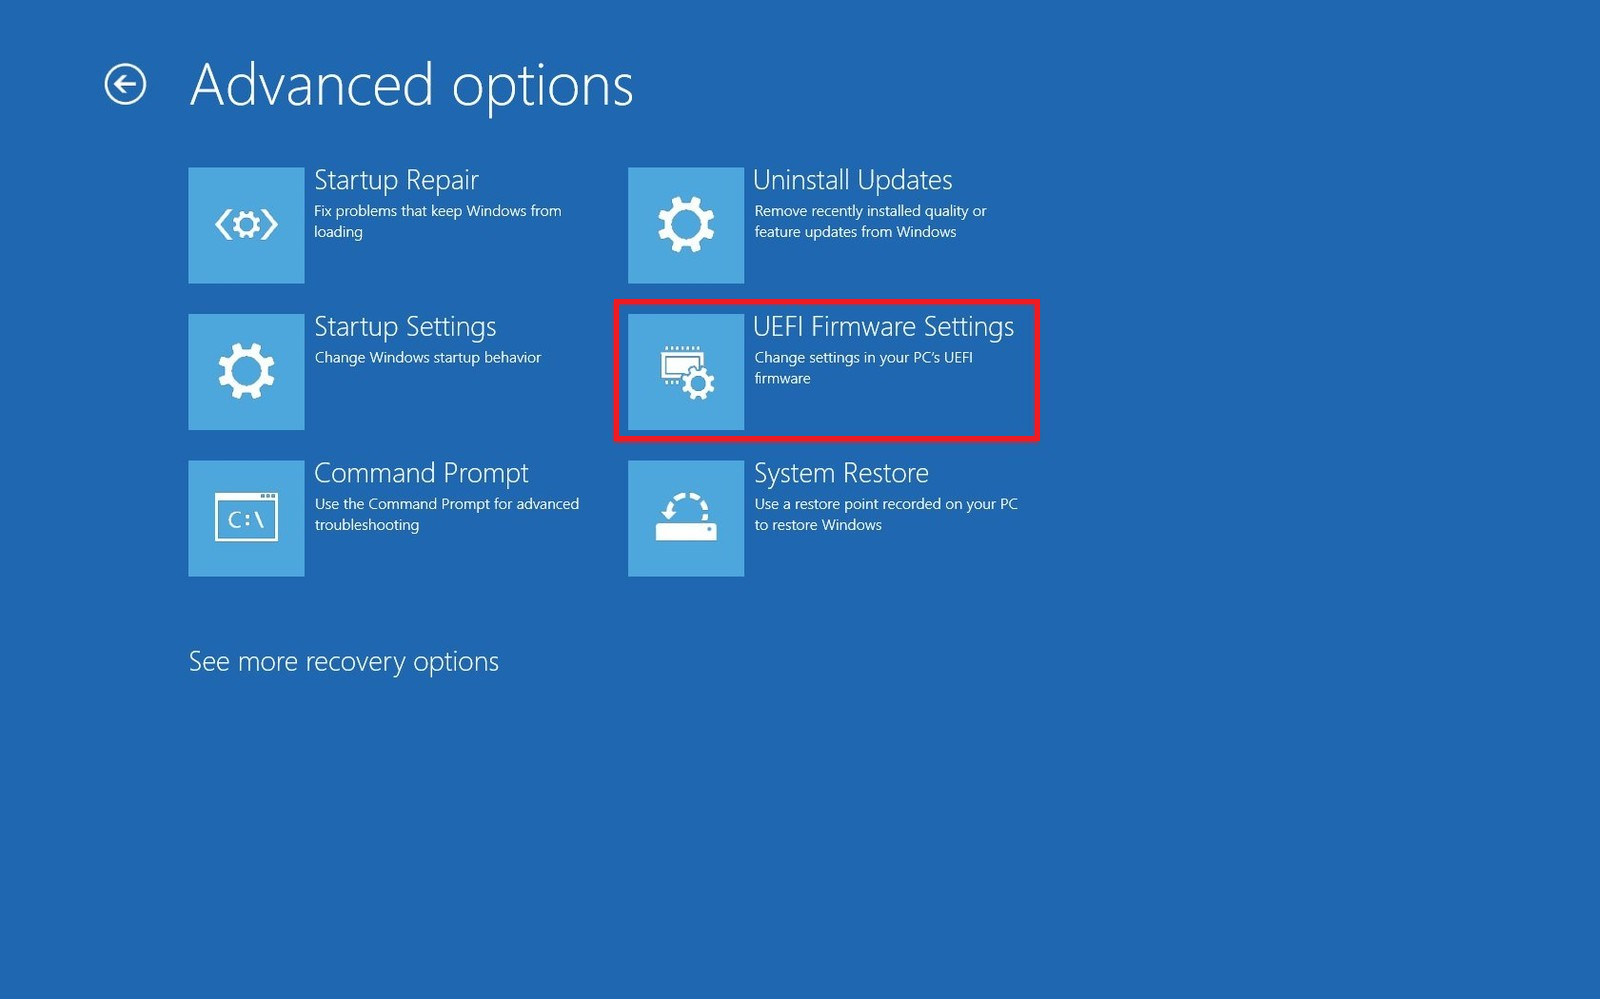
Step 5: Select UEFI Firmware Settings.
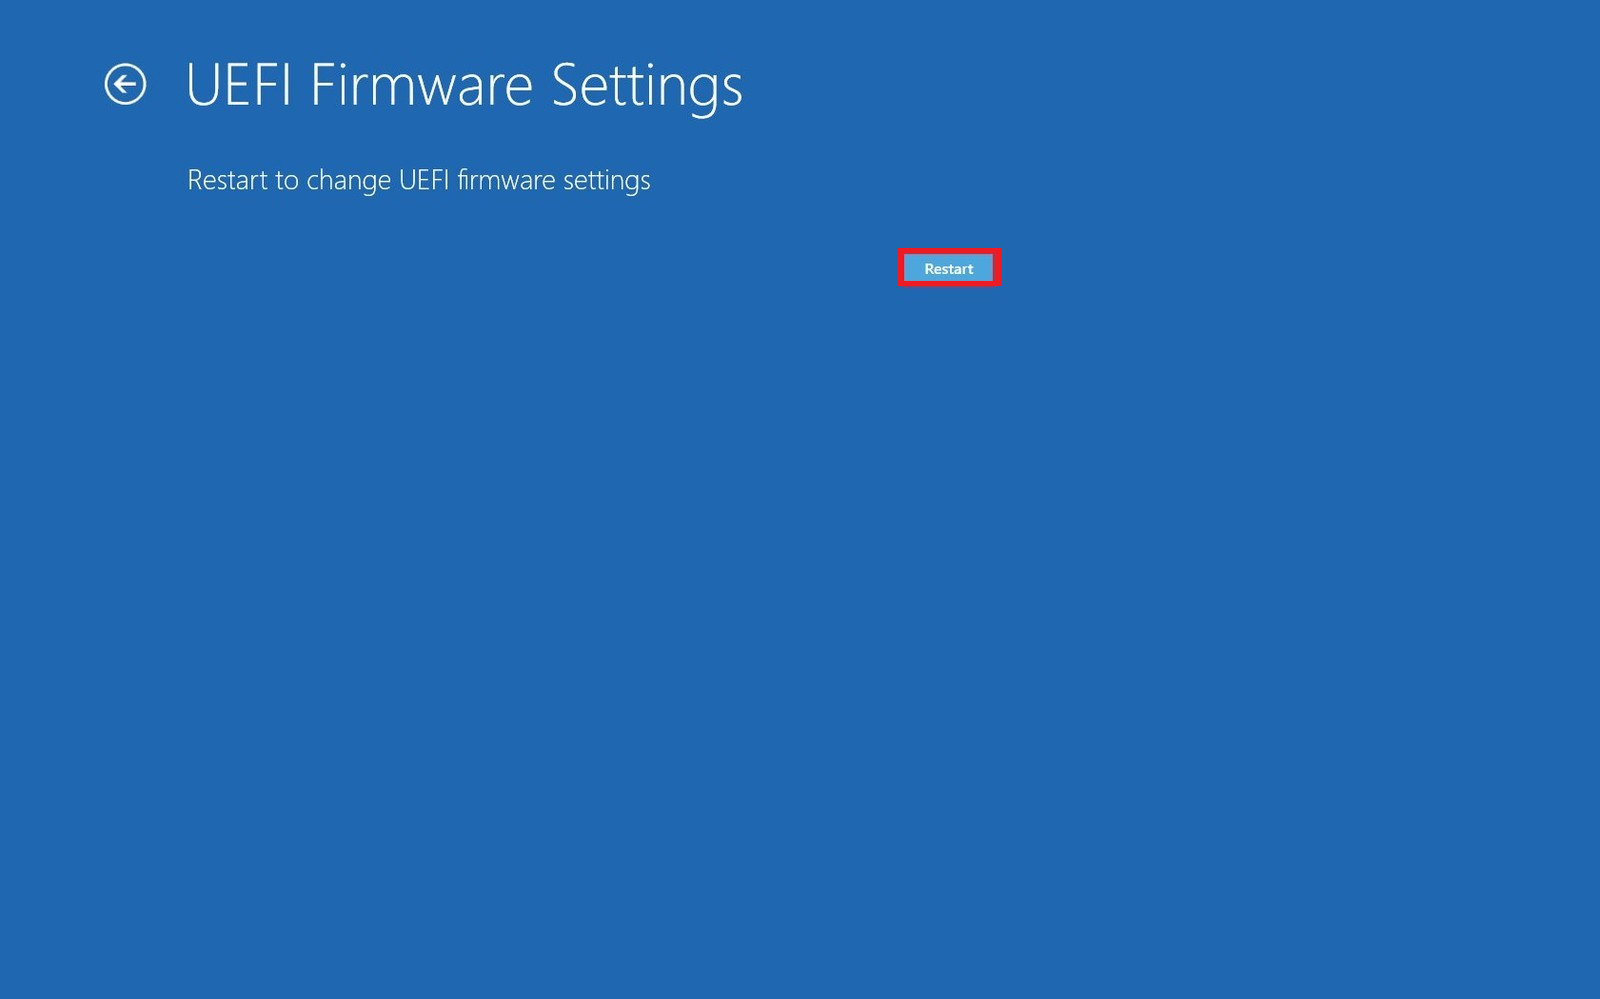
Step 6: Reboot
Step 7: Each manufacturer’s virtualization or virtual technology settings will be in a different location. Look for the Advanced or Configuration tab in the BIOS/UEFI menu, and enable virtualization under it.

Conclusion
In this article, we have outlined all the required details in order to enable virtualization windows. If you have any other issues related to this, let us know in the comment area.
Read All Windows 10 Related How-To & Fixes here.

Leave a Reply