Table of Contents
Introduction
Data Execution Prevention (DEP) can sometimes create errors; therefore, it’s essential to turn it off. In this post, we’ll show you how to do just that.
Data Execution Prevention (DEP) is a security tool that can help protect your computer from viruses and other dangers.
Malicious applications must attempt to run (also known as execute) code from system memory areas reserved for Windows and other approved applications to attack Windows. These attacks have the potential to harm your programs or files.
DEP can help secure your computer by safely checking that your applications are using system memory. If DEP detects software on your computer that is inappropriately consuming memory, it will close the application and notify you. In this article, we will see how to disable DEP (Data Execution Prevention) in Windows 10.
By following the instructions below, you can quickly turn off or disable DEP (Data Execution Prevention) for a particular program in Windows 10:
Note: DEP can be disabled globally for the entire system. However, this is not recommended because it makes your computer less secure.
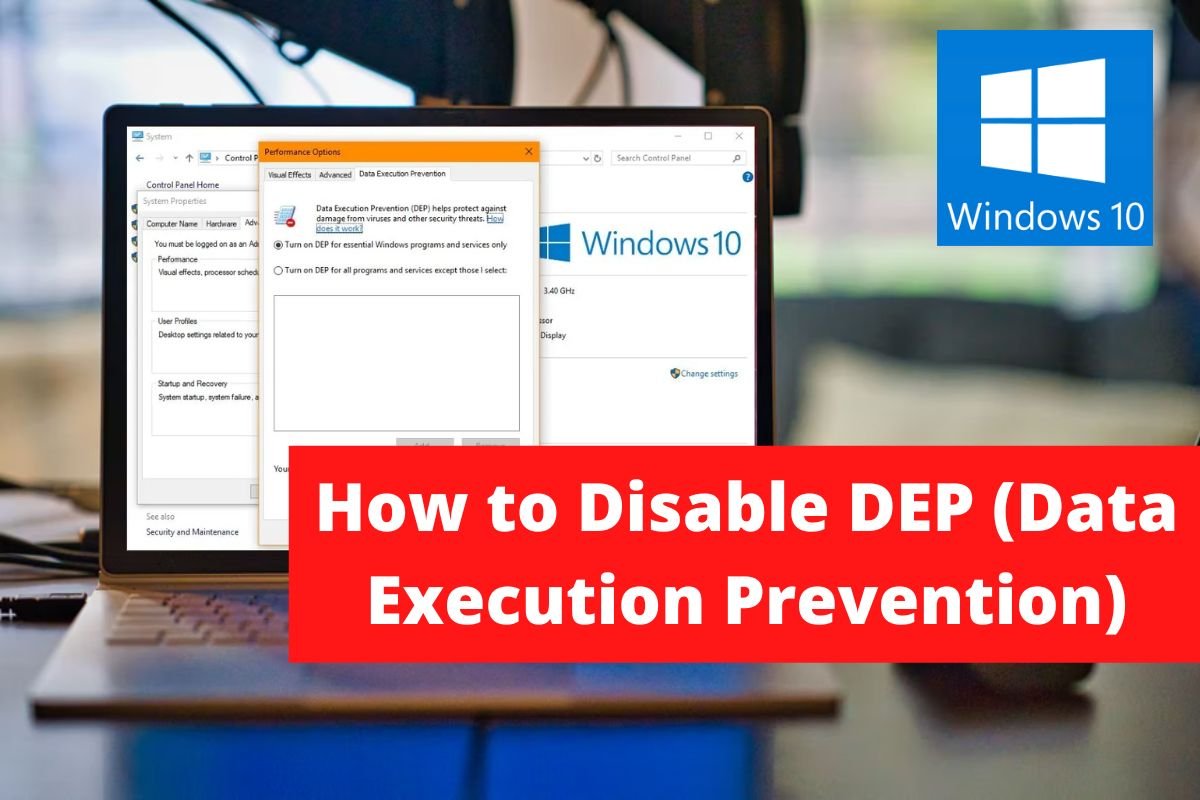
How to Disable DEP (Data Execution Prevention) in Windows 10
Step 1: Select Properties from the context menu of My Computer or This PC.
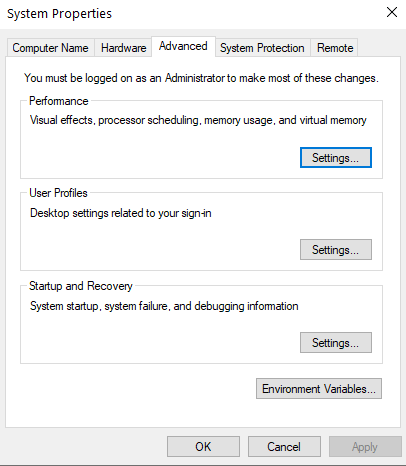
Then, on the left side, select Advanced system settings.
Step 2: Select Settings from the Advanced tab’s Performance section.
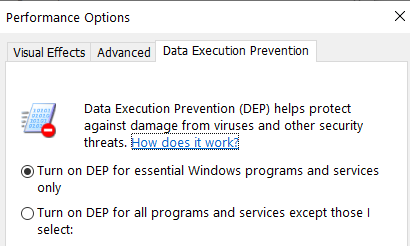
Step 3: Select the Data Execution Prevention tab in the Performance Options box.

As you can see, DEP is enabled by default for key Windows services and programs, but if the second option is selected, DEP will be enabled for all services and programs (not just Windows) that you specify.
Step 4: If you’re having problems with software, pick the second radio button, which will enable DEP for all software and services except those you choose, and then add the software that’s causing the trouble.
However, because DEP is now enabled for every other software in Windows, you may find yourself back where you started, with the same problem with other Windows applications.
In that situation, you’ll need to manually add each problematic piece of software to the exception list.
Step 5: Select the Add button and navigate to the executable file for the application you want to remove from DEP protection.
While adding a 64-bit executable file to the exception list, you may receive an error message saying “You cannot set DEP properties on 64-bit executables.”
There’s no need to be concerned since this indicates that your machine is 64-bit and that your processor supports hardware-based DEP.
Since your computer’s processor supports hardware-based DEP, all 64-bit processes are always protected, and the only method to stop DEP from protecting a 64-bit application is to entirely disable it. If DEP cannot be turned off manually as shown above; in that case, you can use the below-mentioned steps that use the command line.
How to Turn DEP (Data Execution Prevention) Always on or Always Off using Command Prompt in Windows 10
When you set DEP to always on, it protects all processes in Windows, and you can’t turn it off. When you set DEP to always off, it protects no processes or programs, including Windows.
Let’s look at how to make both works:
Step 1: Select Command Prompt from the context menu of the Windows button (Admin).
Step 2: Type the following commands into cmd (command prompt) and press enter:
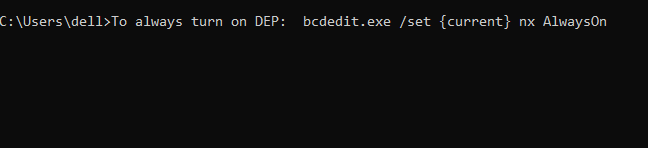
To always keep DEP turned on: bcdedit.exe /set {current} nx AlwaysOn
To always keep DEP turned off: bcdedit.exe /set {current} nx AlwaysOff

Step 3: You just need to run one of the commands rather than both, as demonstrated above.
You must restart your computer after making any changes to DEP.
After using one of the following instructions, the windows interface for altering DEP settings will be disabled. Therefore, command-line options should only be used as a last resort.
Conclusion
That’s all. Hopefully, now you have figured out how to disable DEP (Data Execution Prevention) in Windows 10. So that’s all we can talk about DEP, how to turn it off, and how to always turn it on/off, if you still have any doubts or questions, feel free to leave a comment.

Leave a Reply