Table of Contents
Introduction
Google Chrome is a web browser created by the company Google. It was built with free software components from Apple WebKit and Mozilla Firefox and was first released in 2008 for Microsoft Windows. It was later ported to Linux, macOS, iOS, and Android and is now the default browser on all of these platforms. Chrome is a commonly used browser, but it has its own set of problems like every other browser on the planet. However, there is no need to be concerned because most of the problems can be corrected. The most popular error of Google Chrome is “This Site Can’t Be Reached”.
To help you figure out what this error is all about and how to fix it, we’ve put together a guide with all of the steps you’ll need to take in order to fix this site can’t be reached error in chrome. The “This site can’t be reached” issue in Google Chrome could be caused by a number of factors. Understanding the causes will aid you in determining which troubleshooting method(s) to employ in order to gain access to the website you require.
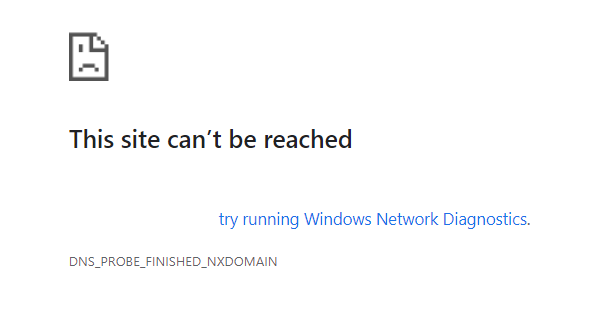
Most Google Chrome users have probably seen the ” This site can’t be reached” error in chrome and aren’t sure how to resolve it. Don’t worry; we’re here to help you solve this problem quickly. This error means that the DNS lookup failed, resulting in the webpage being unavailable.
You receive an error message while trying to open any website or web page, which is:
This site can’t be reached
www.xxxx.com’s server DNS address could not be found.
DNS_PROBE_FINISHED_NXDOMAIN
Methods to Fix This Site Can’t Be Reached Error In Chrome
Following are the methods to fix this site can’t be reached error in chrome:
Method 1: Restart DNS client
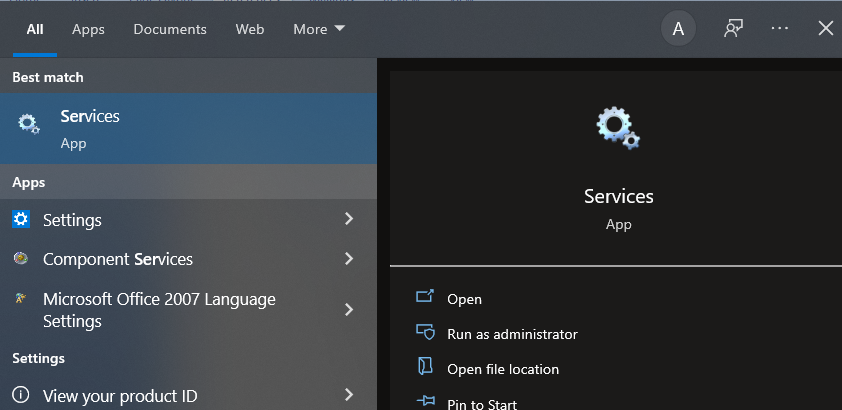
Step 1: Click on the Windows icon or press the Windows button, search for services, press the Windows key plus R, and type services.msc then press enter.

Step 2: Scroll down to “Network Store Interface Service” and click it (Press N to easily find it). Right-click Network Store Interface Service and choose Restart from the context menu.
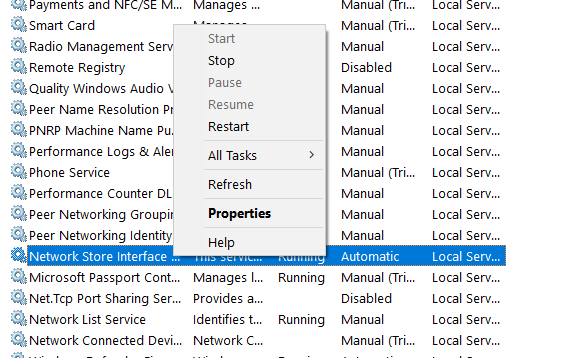
Step 3: Repeat the above step in the services list for the DNS and DHCP clients.
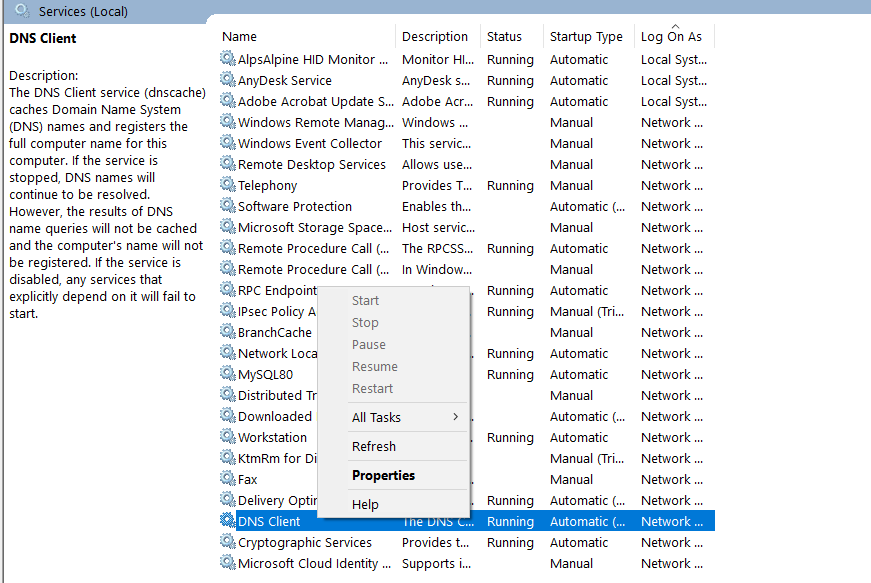
Step 4: Now that the DNS client has restarted, check to see if you were able to resolve the problem.
Method 2: Run Network Troubleshooter
Step 1: Press Windows + R and type ncpa.cpl and click on OK.
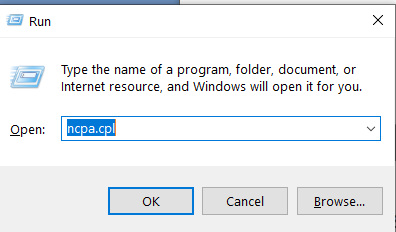
Step 2: Then click on diagnose.
Step 3: Allow the Network Troubleshooter to run, and the following error notice will appear:
“Wireless Network Connection” does not have DHCP enabled.
Step 4: Select “Try these Repairs as an Administrator” from the drop-down menu.
Step 5: Click Apply this Fix on the following prompt.
Method 3: Reset Chrome Browser
Note: Before continuing, make a backup of your Chrome data.
Step 1: Go to Chrome Settings, scroll down to Advanced, and click it.
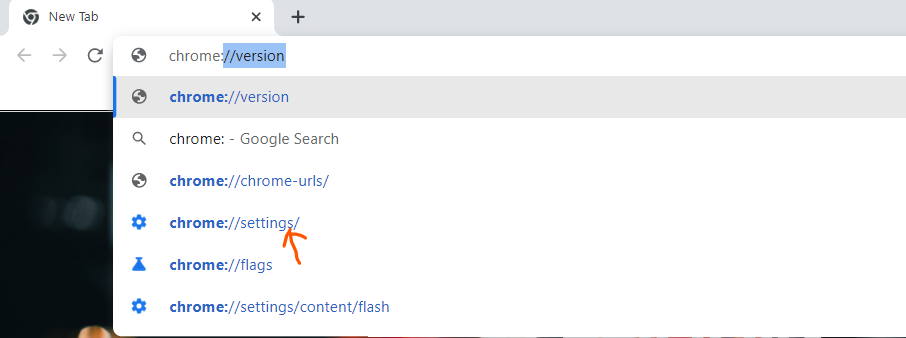
Step 2: Go to the advanced tab. Click on “reset and cleanup.”
Step 3: When you’re sure you want to restore Chrome to its original settings, click the Reset settings option in the dialogue box below.

Method 4: Reinstall Chrome
Step 1: Access Settings by pressing Windows Key + I, then select Apps.
Step 2: Select “Apps & Features” from the left-hand menu.
Step 3: Go to the bottom of the page and look for “Google Chrome.”
Step 4: Select Google Chrome and then the Uninstall option.
Step 5: Confirm Chrome’s deletion by clicking the Uninstall icon once more.

Step 6: Once Chrome has been uninstalled, restart your computer to apply the changes.
Step 7: Download and install the most recent version of Google Chrome once more from here.
Note: Reinstalling Chrome will wipe out all of your data, so create a backup of your bookmarks, passwords, and settings before proceeding.
Method 5: Change IPv4 DNS Address
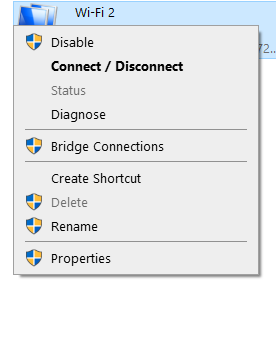
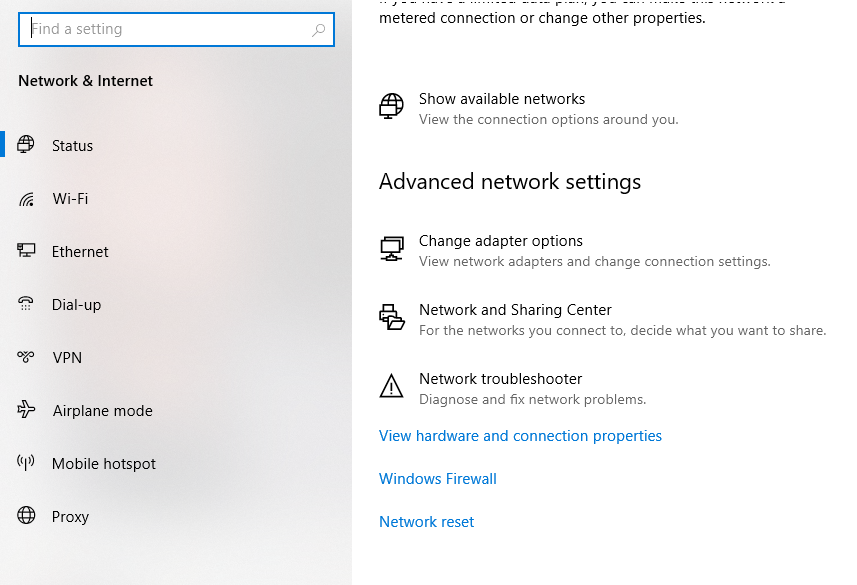
Step 1: To open the Network and Sharing Center, right-click on the WiFi symbol in the system tray and select “Open Network and Sharing Center.”

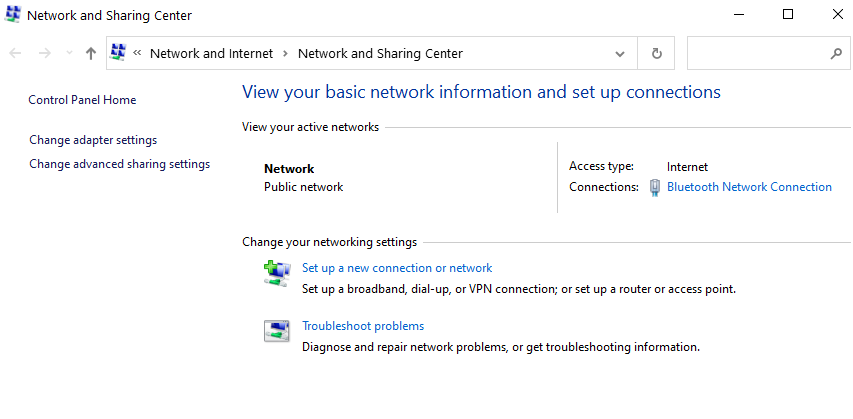
Step 2: Select “Network and Sharing Center” from the drop-down menu.
Step 3: Next, enter Settings and then Properties by clicking on your current connection.
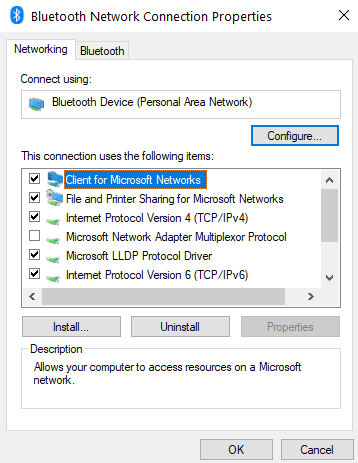
Step 4: Next, go to Properties and pick “Internet Protocol Version 4 (TCP/IP)”.

Step 4: Next, pick “Internet Protocol Version 4 (TCP/IP)” and go to Properties.
Step 5: Select “Use the following DNS server addresses” from the drop-down menu.
Step 6: In the Preferred DNS server and Alternate DNS server fields, type the following addresses:
8.8.8.8
8.8.4.4
You can also use other Public DNS Servers instead of Google DNS. Finally, to utilize Google DNS or OpenDNS, click the OK box.
Step 7: Select “Validate settings upon leaving” from the drop-down menu and click OK and Close.
Method 6: Reset TCP/IP
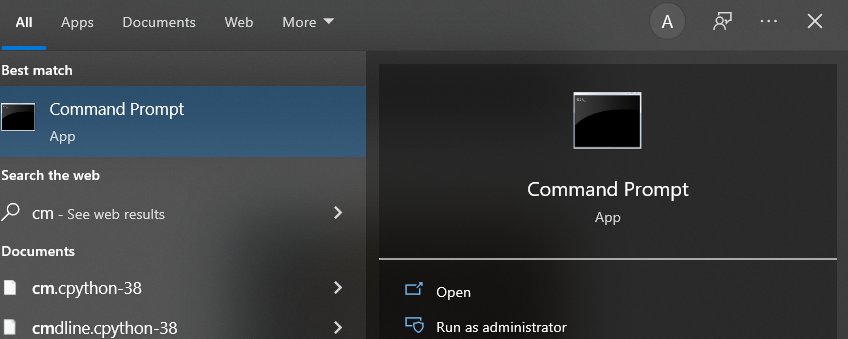
Step 1: Open Command Prompt (Admin)
Step 2: Now, one by one, type the following commands, and press Enter after each one:
ipconfig /release
ipconfig /all
ipconfig /flushdns
ipconfig /renew
Step 3: Restart your computer to save your modifications.
Method 7: Restart your internet service
Even though you have a working internet connection, the “This site can’t be reached” error in chrome can display if there is a problem with it.
Although it may seem overly simplistic, rebooting your router or modem will often immediately repair this issue.
You should consider this the first approach because resetting your connection takes a minute or two.
Most internet service providers (ISPs) advocate unplugging your router’s power cable and reconnecting it after a minute.
Please wait for your internet connection to reset when it’s been turned back on, then attempt to re-access the webpage.
Method 8: Clear the Cache in Your Browser
Chrome saves a lot of data and files from the websites you visit while browsing the web.
Your browser saves those files in a local cache so that it doesn’t have to refresh web pages every time you view them completely.
Due to issues with your cached files, you may receive the “This site can’t be reached” message in some circumstances.
You’ll need to erase your browser cache to fix the problem.
If you’re using Chrome, go to Settings > Privacy and Security > Clear Browsing Data and select Cached Images and Files from the drop-down menu.
You can also use 3rd party Apps like CCleaner to clear your browser’s cache.
Conclusion
In this article, we’ve attempted to cover the most prevalent causes and solutions for this issue. Hopefully, this guide has helped you solve your problem. You should now be able to use Google Chrome without any issues.
We hope you found this helpful tutorial and that you were able to fix the “This site can’t be reached” error in Google Chrome. However, if you have any further questions, please leave them in the comments below, and you can also share this post on social media to help your friends solve this problem quickly.

Leave a Reply